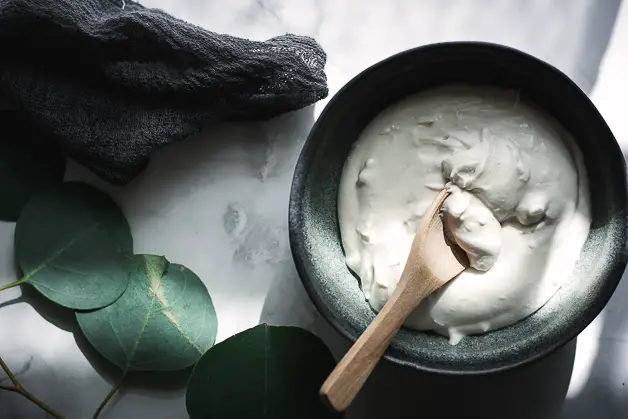
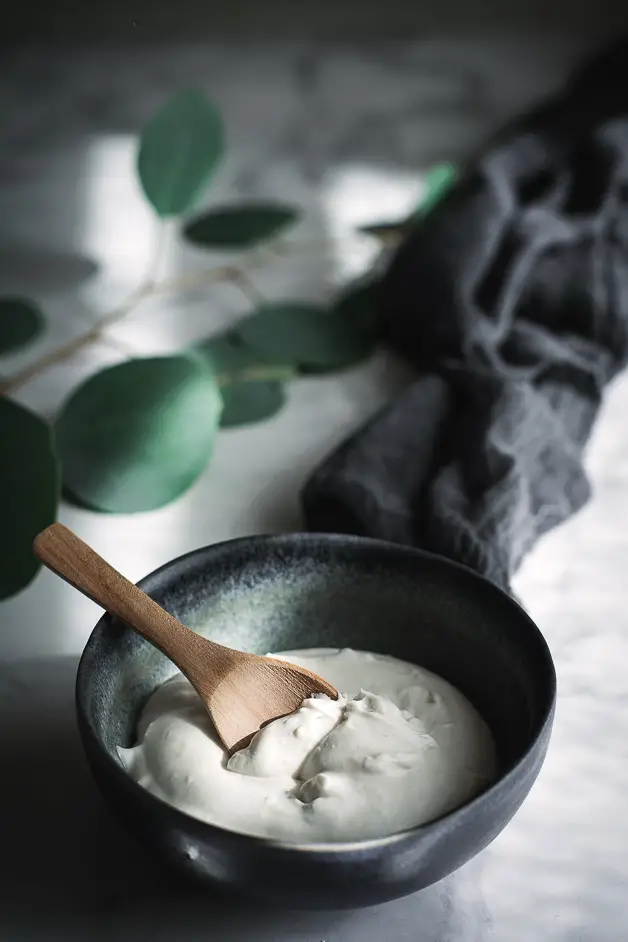
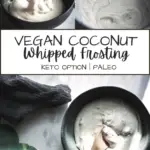
This Easy 4 Ingredient Whipped Vegan Frosting takes just minutes to make, is versatile, customizable, and perfect for cakes, cupcakes, and everything in between.
Jump To
It's been over 4 years since I've switched to a gluten and dairy-free lifestyle. And I must say, the only things I really miss when it comes to dairy are cheese and whipped cream frosting. It's not something I needed frequently but something I very much appreciated, every time a birthday came around.
While there is not much I can do about cheese because let's face it, you just can't replicate a delicious cheese, there is something I can do about the frosting. By that I mean, make a quick and simple coconut whipped cream frosting.
To me, whipped icing is simply the ultimate because it transforms any baked good into a delightful, airy treat that's satisfying yet never cloyingly sweet. And this is exactly what you get with this dairy-free frosting. Plus a few variations if you want to make it chocolatey.
About This Whipped Vegan Frosting
- It's vegan, gluten-free and dairy-free
- Paleo
- Can easily be made keto and low-carb
- Simple to make with just a few ingredients
- A healthier alternative to frosting
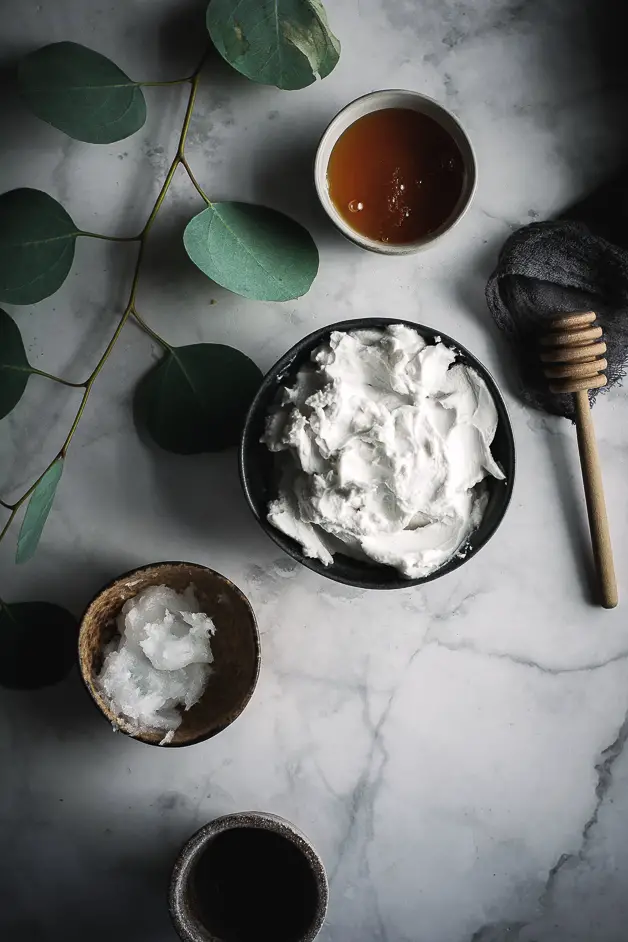
Ingredients Needed
- Coconut cream or coconut milk
- Vanilla extract
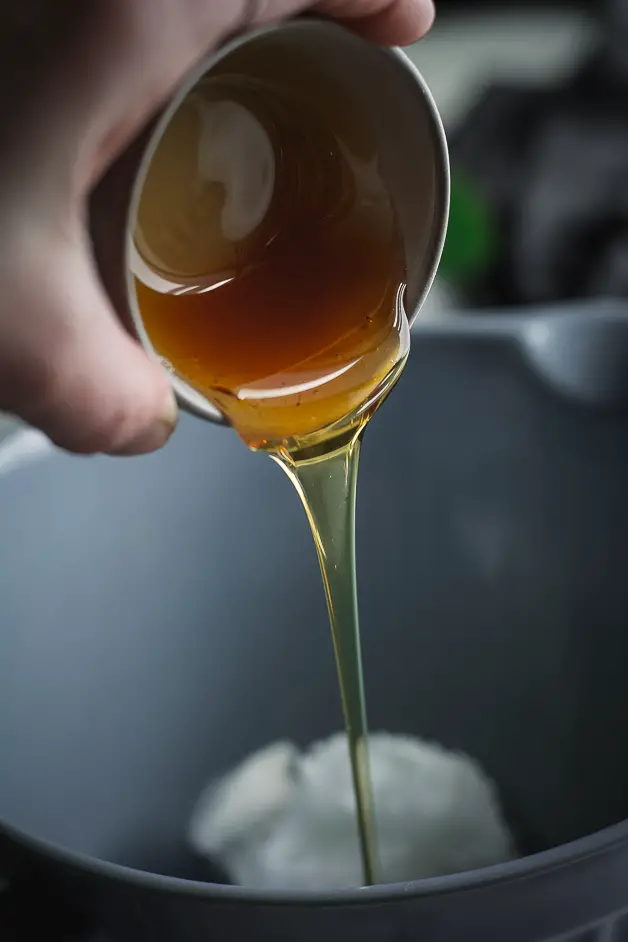
- Honey or maple syrup
- Tapioca flour
Equipment
- Large mixing bowl
- Handheld mixer or if you prefer, standing mixer
Let's Make It
Step 1. Before you begin, make sure you refrigerate your coconut milk or coconut cream for at least 2-4 hours. (This will ensure that the thick, meaty part of the coconut milk, separates from the liquid).
Step 2. Open the can from the bottom and pour liquid into a cup, reserving it for smoothies or anything else you wish to do with it.
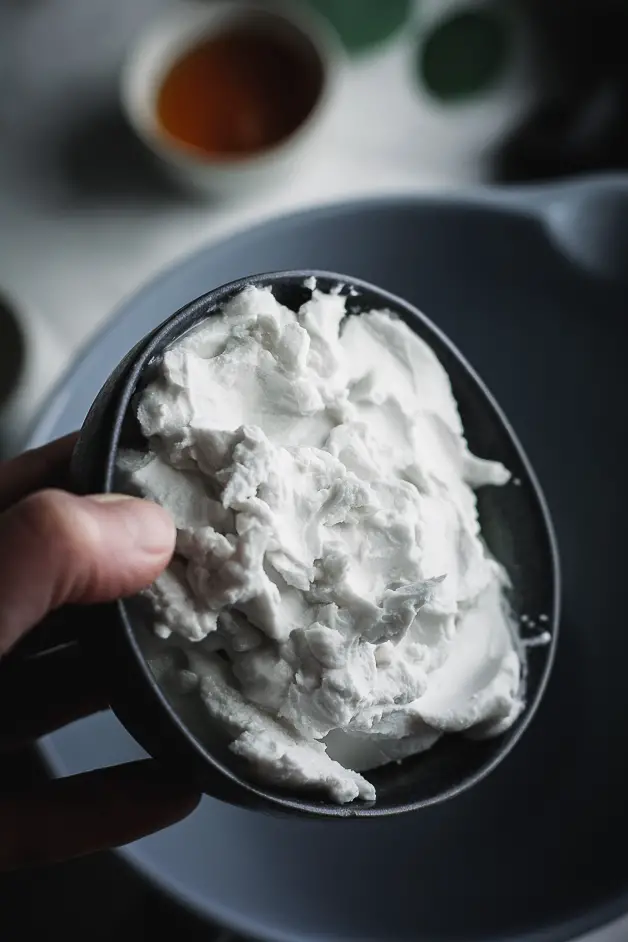
Step 3. Scoop out the creamy part into a large bowl. If you're using coconut milk, you'll need 2 cans but if you're using coconut cream, you should be okay with one. Depending of course on what you're frosting.
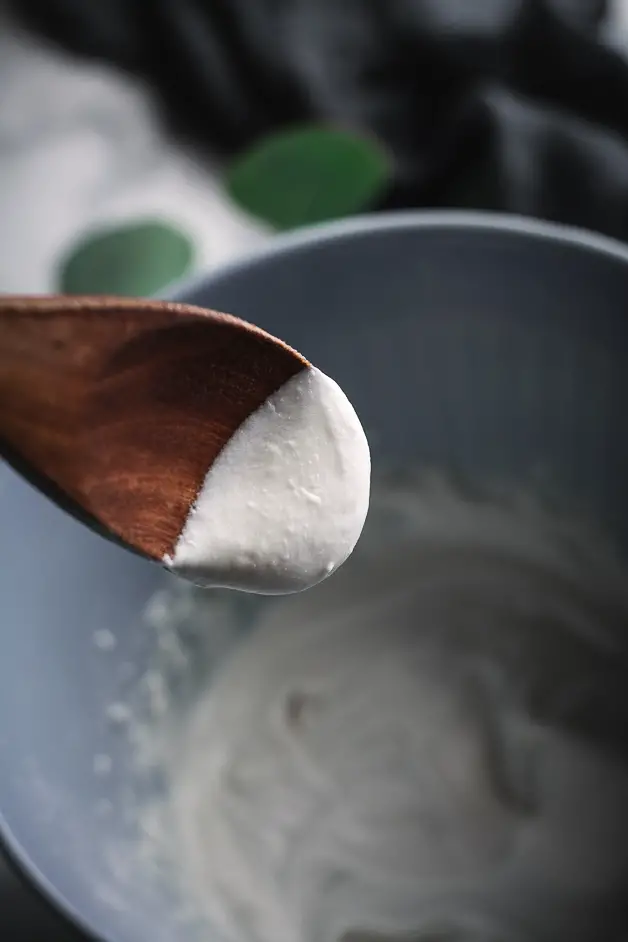
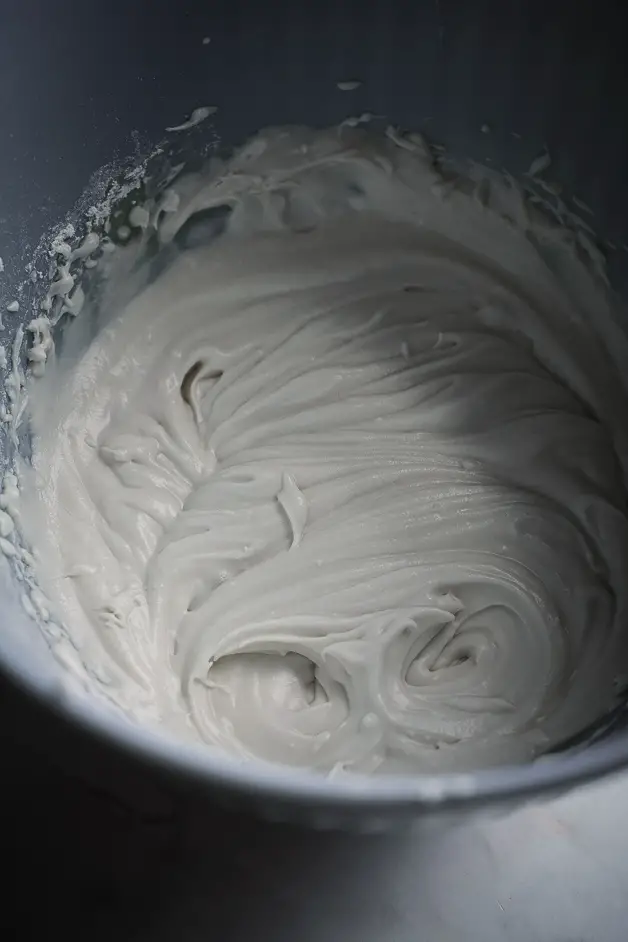
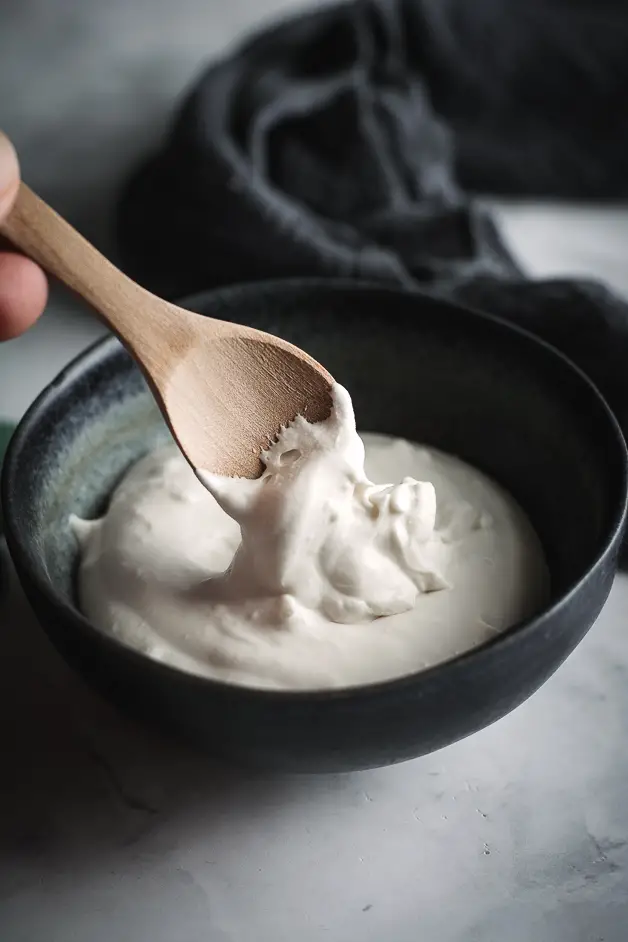
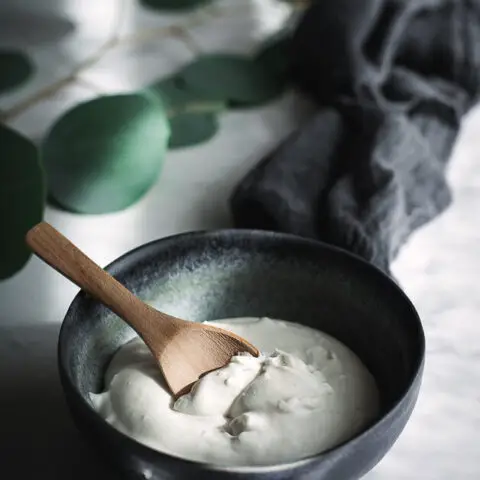
Step 4. Add the rest of the ingredients and mix well using a handheld or standing mixer. Whip the coconut frosting until you have a thick consistency. Refrigerate the frosting for 30 minutes or if you're not using it right away, cover it with wrap and store it in the refrigerator for up to 4-5 days.
FAQs and Top Tips
Coconut Cream Or Coconut Milk For Coconut Frosting?
Coconut milk is often easier to find than coconut cream unless you have access to decent markets near you. But you can always purchase it online or use 2 cans of coconut milk.
Why Should The Coconut Milk Be Refrigerated?
You always want to refrigerate the coconut milk or coconut cream for at least 2-4 hours to ensure the solid separates from the liquid. For this recipe, we are only using the solid part and the liquid part can be reserved for smoothies or additional moisture in baked goods.
Why Add Tapioca Flour?
I know it sounds incredibly strange to add flour to a frosting but when making dairy-free frosting, I like adding something that helps to stabilize the coconut milk and help the particles congeal. Much in the same way you'd make a flax egg, the idea here is the same. And don't worry, it won't taste like flour.
Can This Frosting Be Made Keto?
Easily! Just replace the maple syrup or honey with keto maple syrup or keto vegan honey!
Is There A Chocolate Opion?
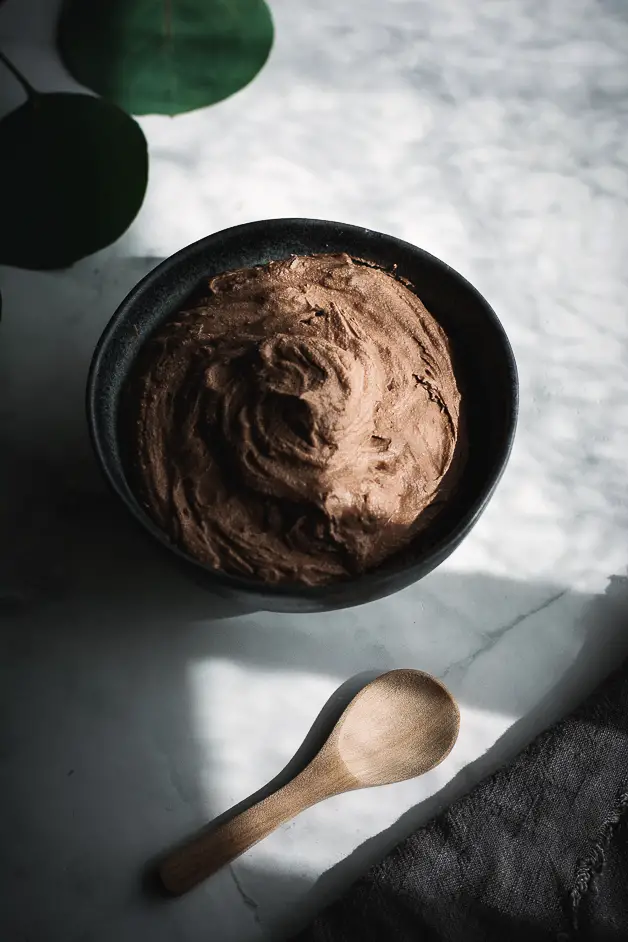
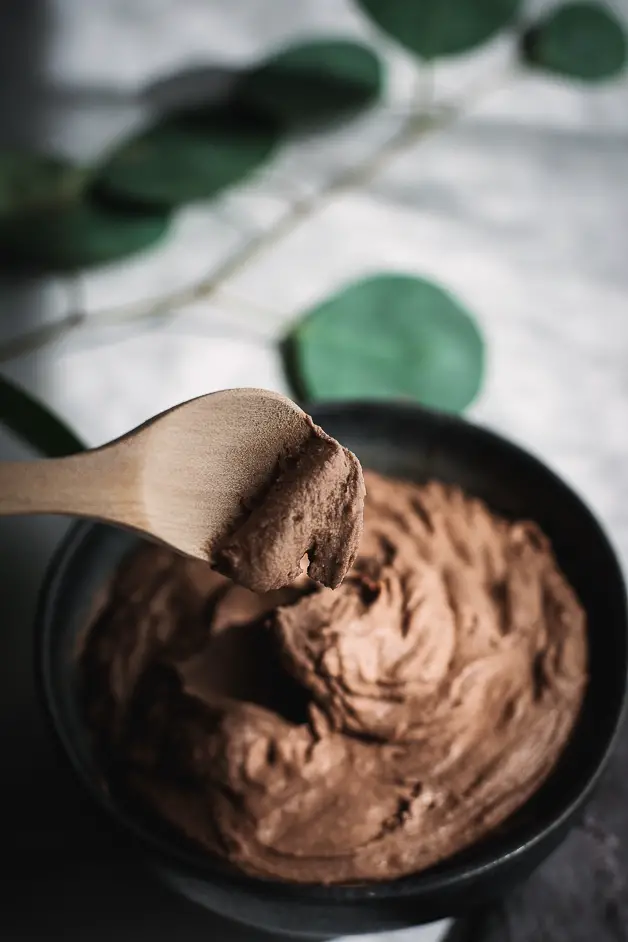
Yes! If you want to make vegan chocolate frosting, just forgo the tapioca flour and add 1-2 tablespoon of raw cacao or cocoa powder. Whip and voila! Vegan chocolate frosting!
📖 Recipe
Easy Whipped Vegan Frosting
This Easy 4 Ingredient Whipped Vegan Frosting takes just minutes to make, is versatile, customizable, and perfect for cakes, cupcakes, and everything in between.
Ingredients
- 1 can coconut cream or 2 cans coconut milk
- ½ teaspoon vanilla extract
- 2 tablespoon honey or maple syrup (more for sweeter)
- 1 tablespoon tapioca flour
Instructions
1. Before you begin, make sure you refrigerate your coconut milk or coconut cream for at least 2-4 hours. (This will ensure that the thick, meaty part of the coconut milk, separates from the liquid).
2. Open the can from the bottom and pour liquid into a cup, reserving it for smoothies or anything else you wish to do with it.
3. Scoop out the creamy part into a large bowl. If you’re using coconut milk, you’ll need 2 cans but if you’re using coconut cream, you should be okay with one. Depending of course on what you’re frosting.
4. Add the rest of the ingredients and mix well using a handheld or standing mixer. Whip the coconut frosting until you have a thick consistency. Refrigerate the frosting for 30 minutes or if you’re not using it right away, cover it with wrap and store it in the refrigerator for up to 4-5 days.




Jane
Hi! this looks delicious! Is it enough to cover a 9/13 sheet cake?
Daniela Modesto
Hi Jane, I'm thinking doubling up on the ingredients might definitely be a good idea. Having enough left over is better than not enough! 🙂