


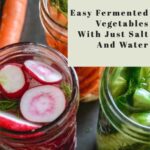


These 3 easy fermented vegetable recipes are the ideal probiotic-rich companion for any meal and are easy to make at home. All you need is water, salt, and vegetables.
Jump To
- Why eat fermented vegetables
- Fermented vegetables provide natural probiotics
- How to make fermented vegetables
- Preparing your jars before fermenting
- How long does it take to ferment vegetables?
- Can you use different vegetables?
- Best vegetables for fermenting
- Where can you find jars for fermenting vegetables?
- More Fermented Vegetable Recipes
- 📖 Recipe
- 💬 Comments
When I lived in Romania, my family shopped at the local farmers market and ate seasonally. There was really no choice as it was that or starve. We didn't have well-stocked grocery stores so we had to be prepared. In anticipation of cold, long winters, my grandparents would ferment large quantities of vegetables that were not available in the winter. Little did I know just how beneficial fermented vegetables were.
Why eat fermented vegetables
Our Western diet has done a number on gut flora and our digestive system as many of us are eating foods our body simply does not know how to assimilate and has a difficult time digesting. But I'm a firm believer that by eating fermented foods daily we can rebuild our healthy guts. This is in turn helps with food absorption, improved digestion, and overall health. After all, if our gut isn’t healthy, then every other system in the body will be affected.
Fermented vegetables provide natural probiotics
I’m a proponent of supplementation but I’m also a firm believer that we can get everything we need from food. And one of the best ways to populate and heal our guts is through consuming probiotic-rich fermented foods daily. It is a cheaper and healthier alternative to taking a pill every day.
How to make fermented vegetables
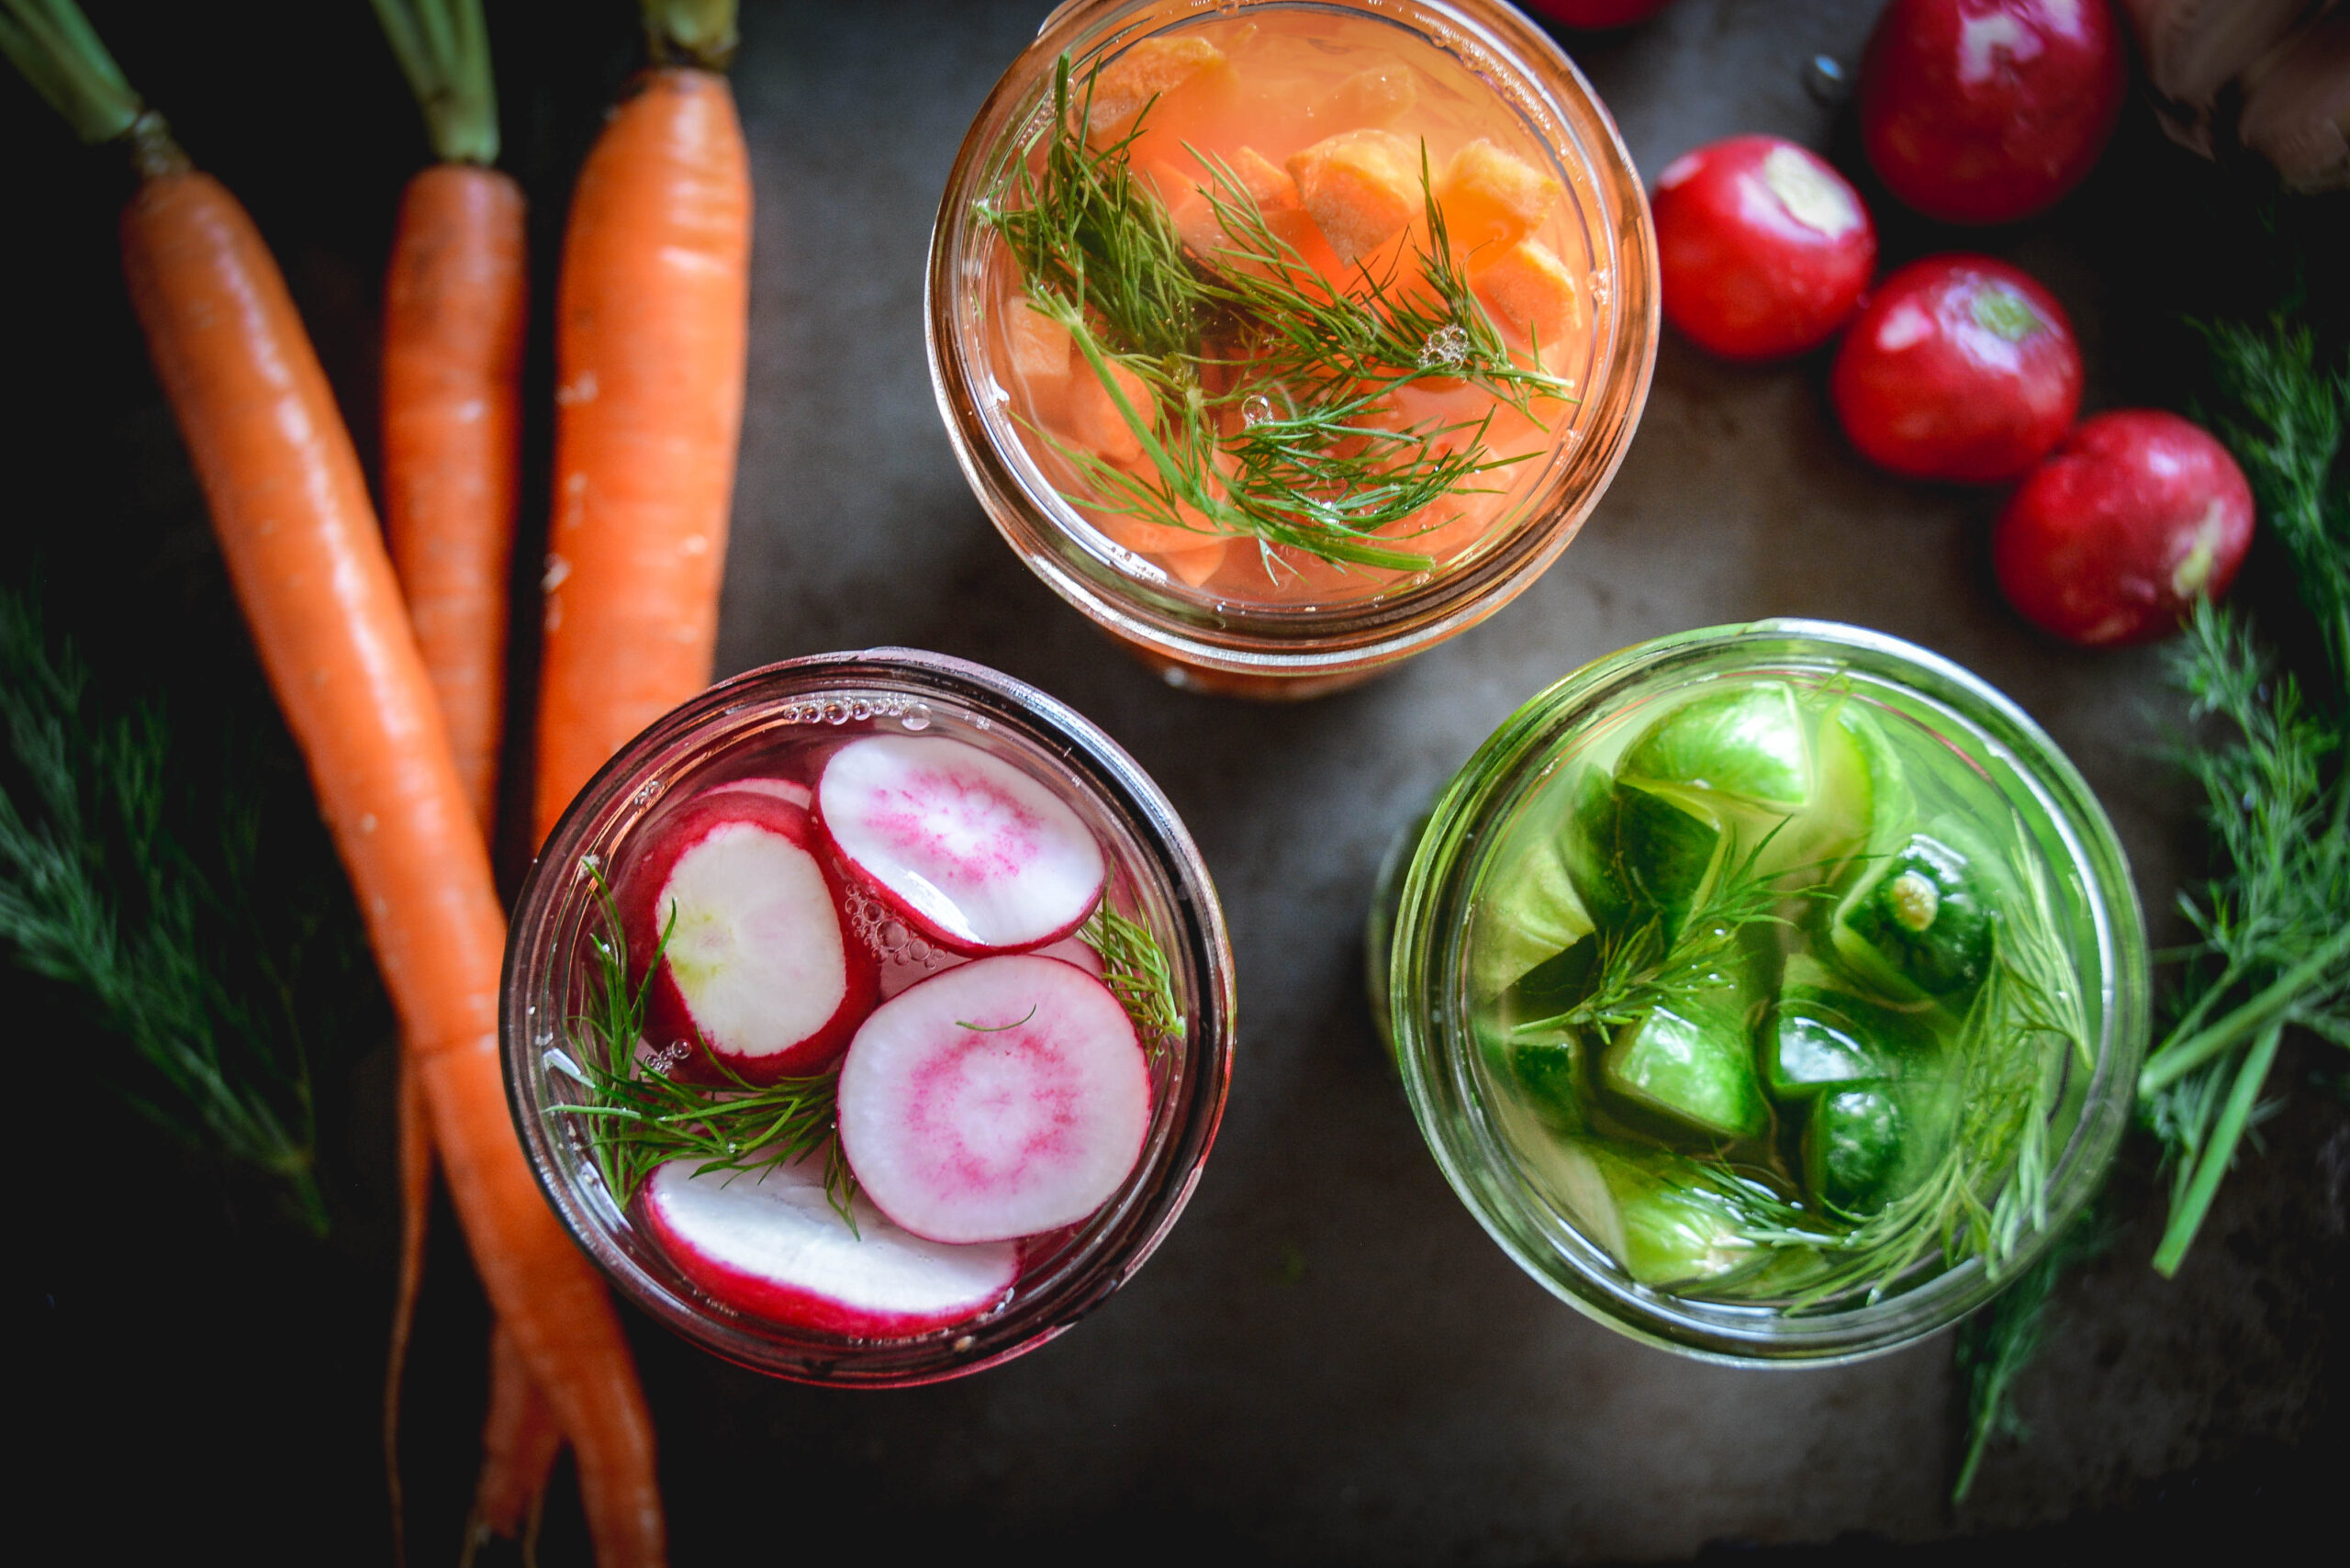
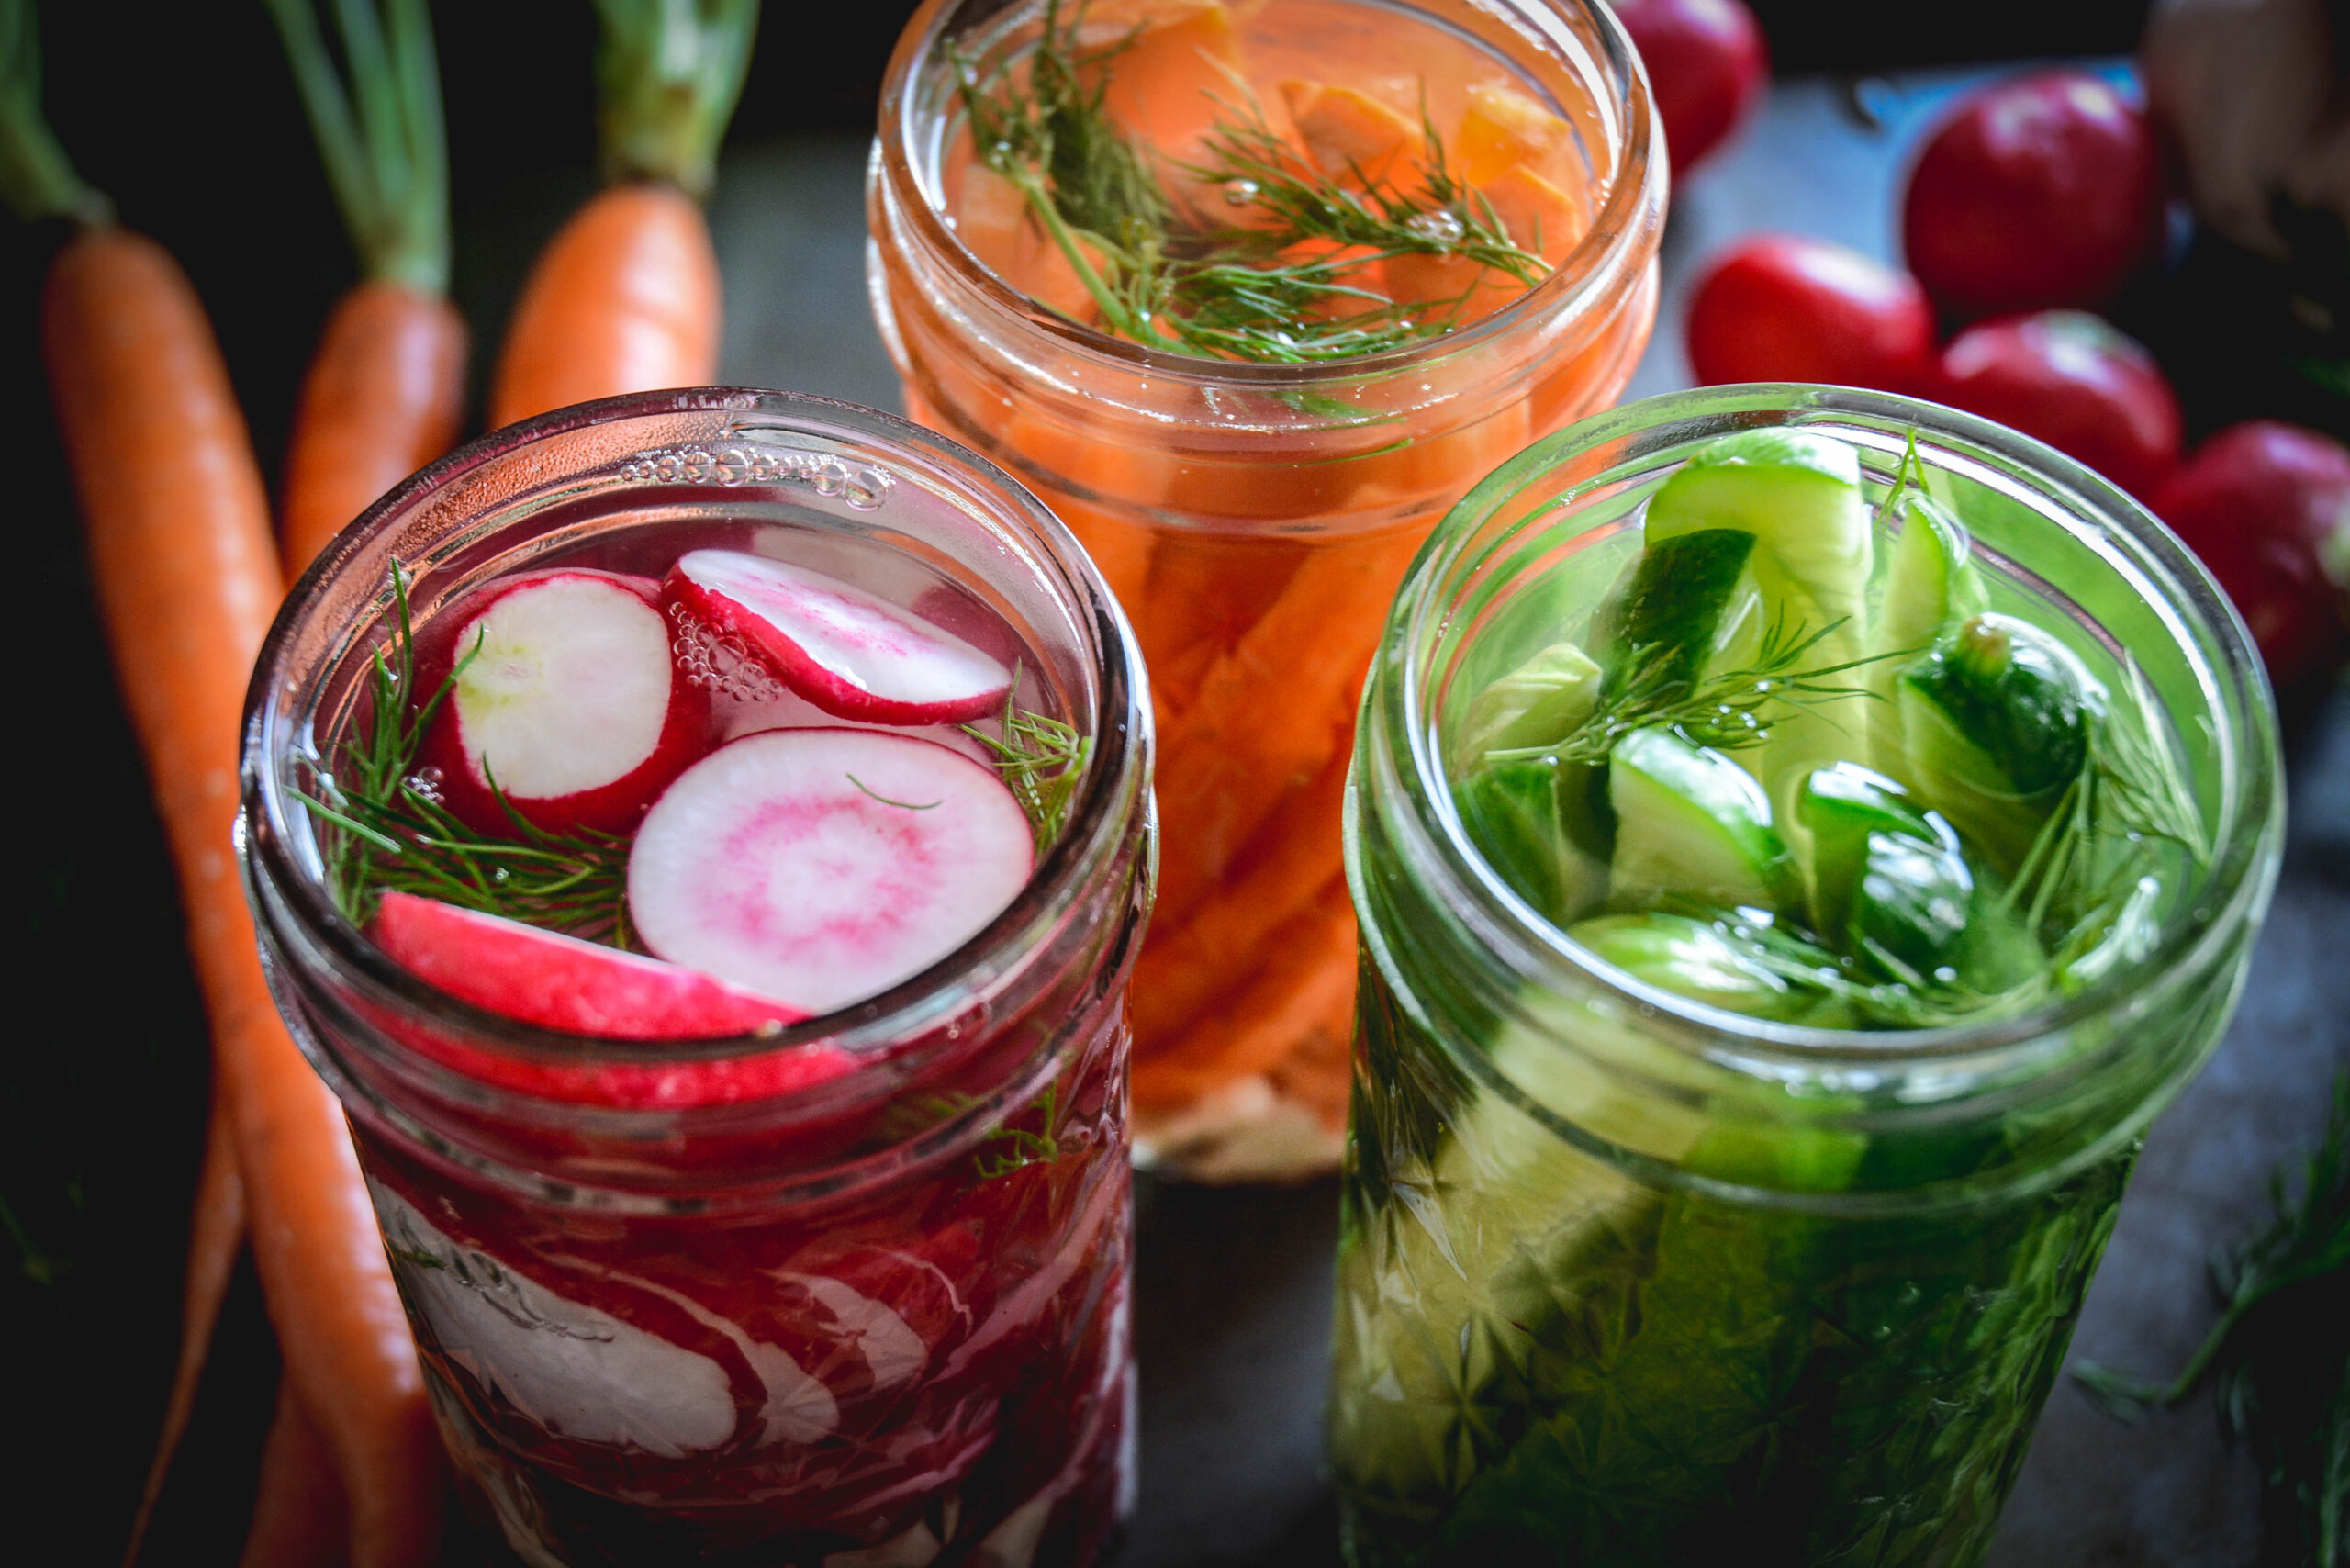
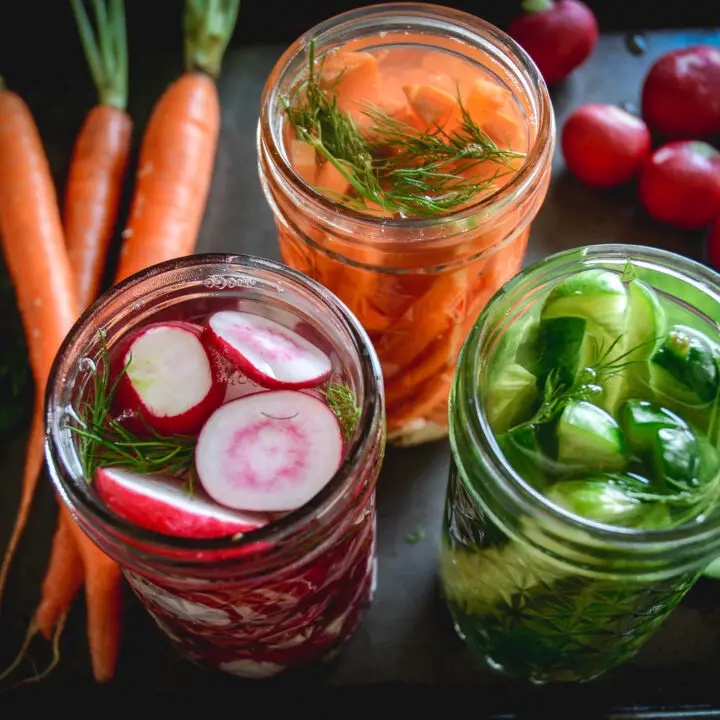
In order to demystify fermenting, I wanted to share some very basic recipes I frequently make. The easiest way to start is by using brine and cut up vegetables.
To make the brine, all you need is a quart of room temperature water and 2-3 tablespoon of fine sea salt. I prefer using fine salt as it dissolves quicker. Once the salt and water are combined, your brine is ready.
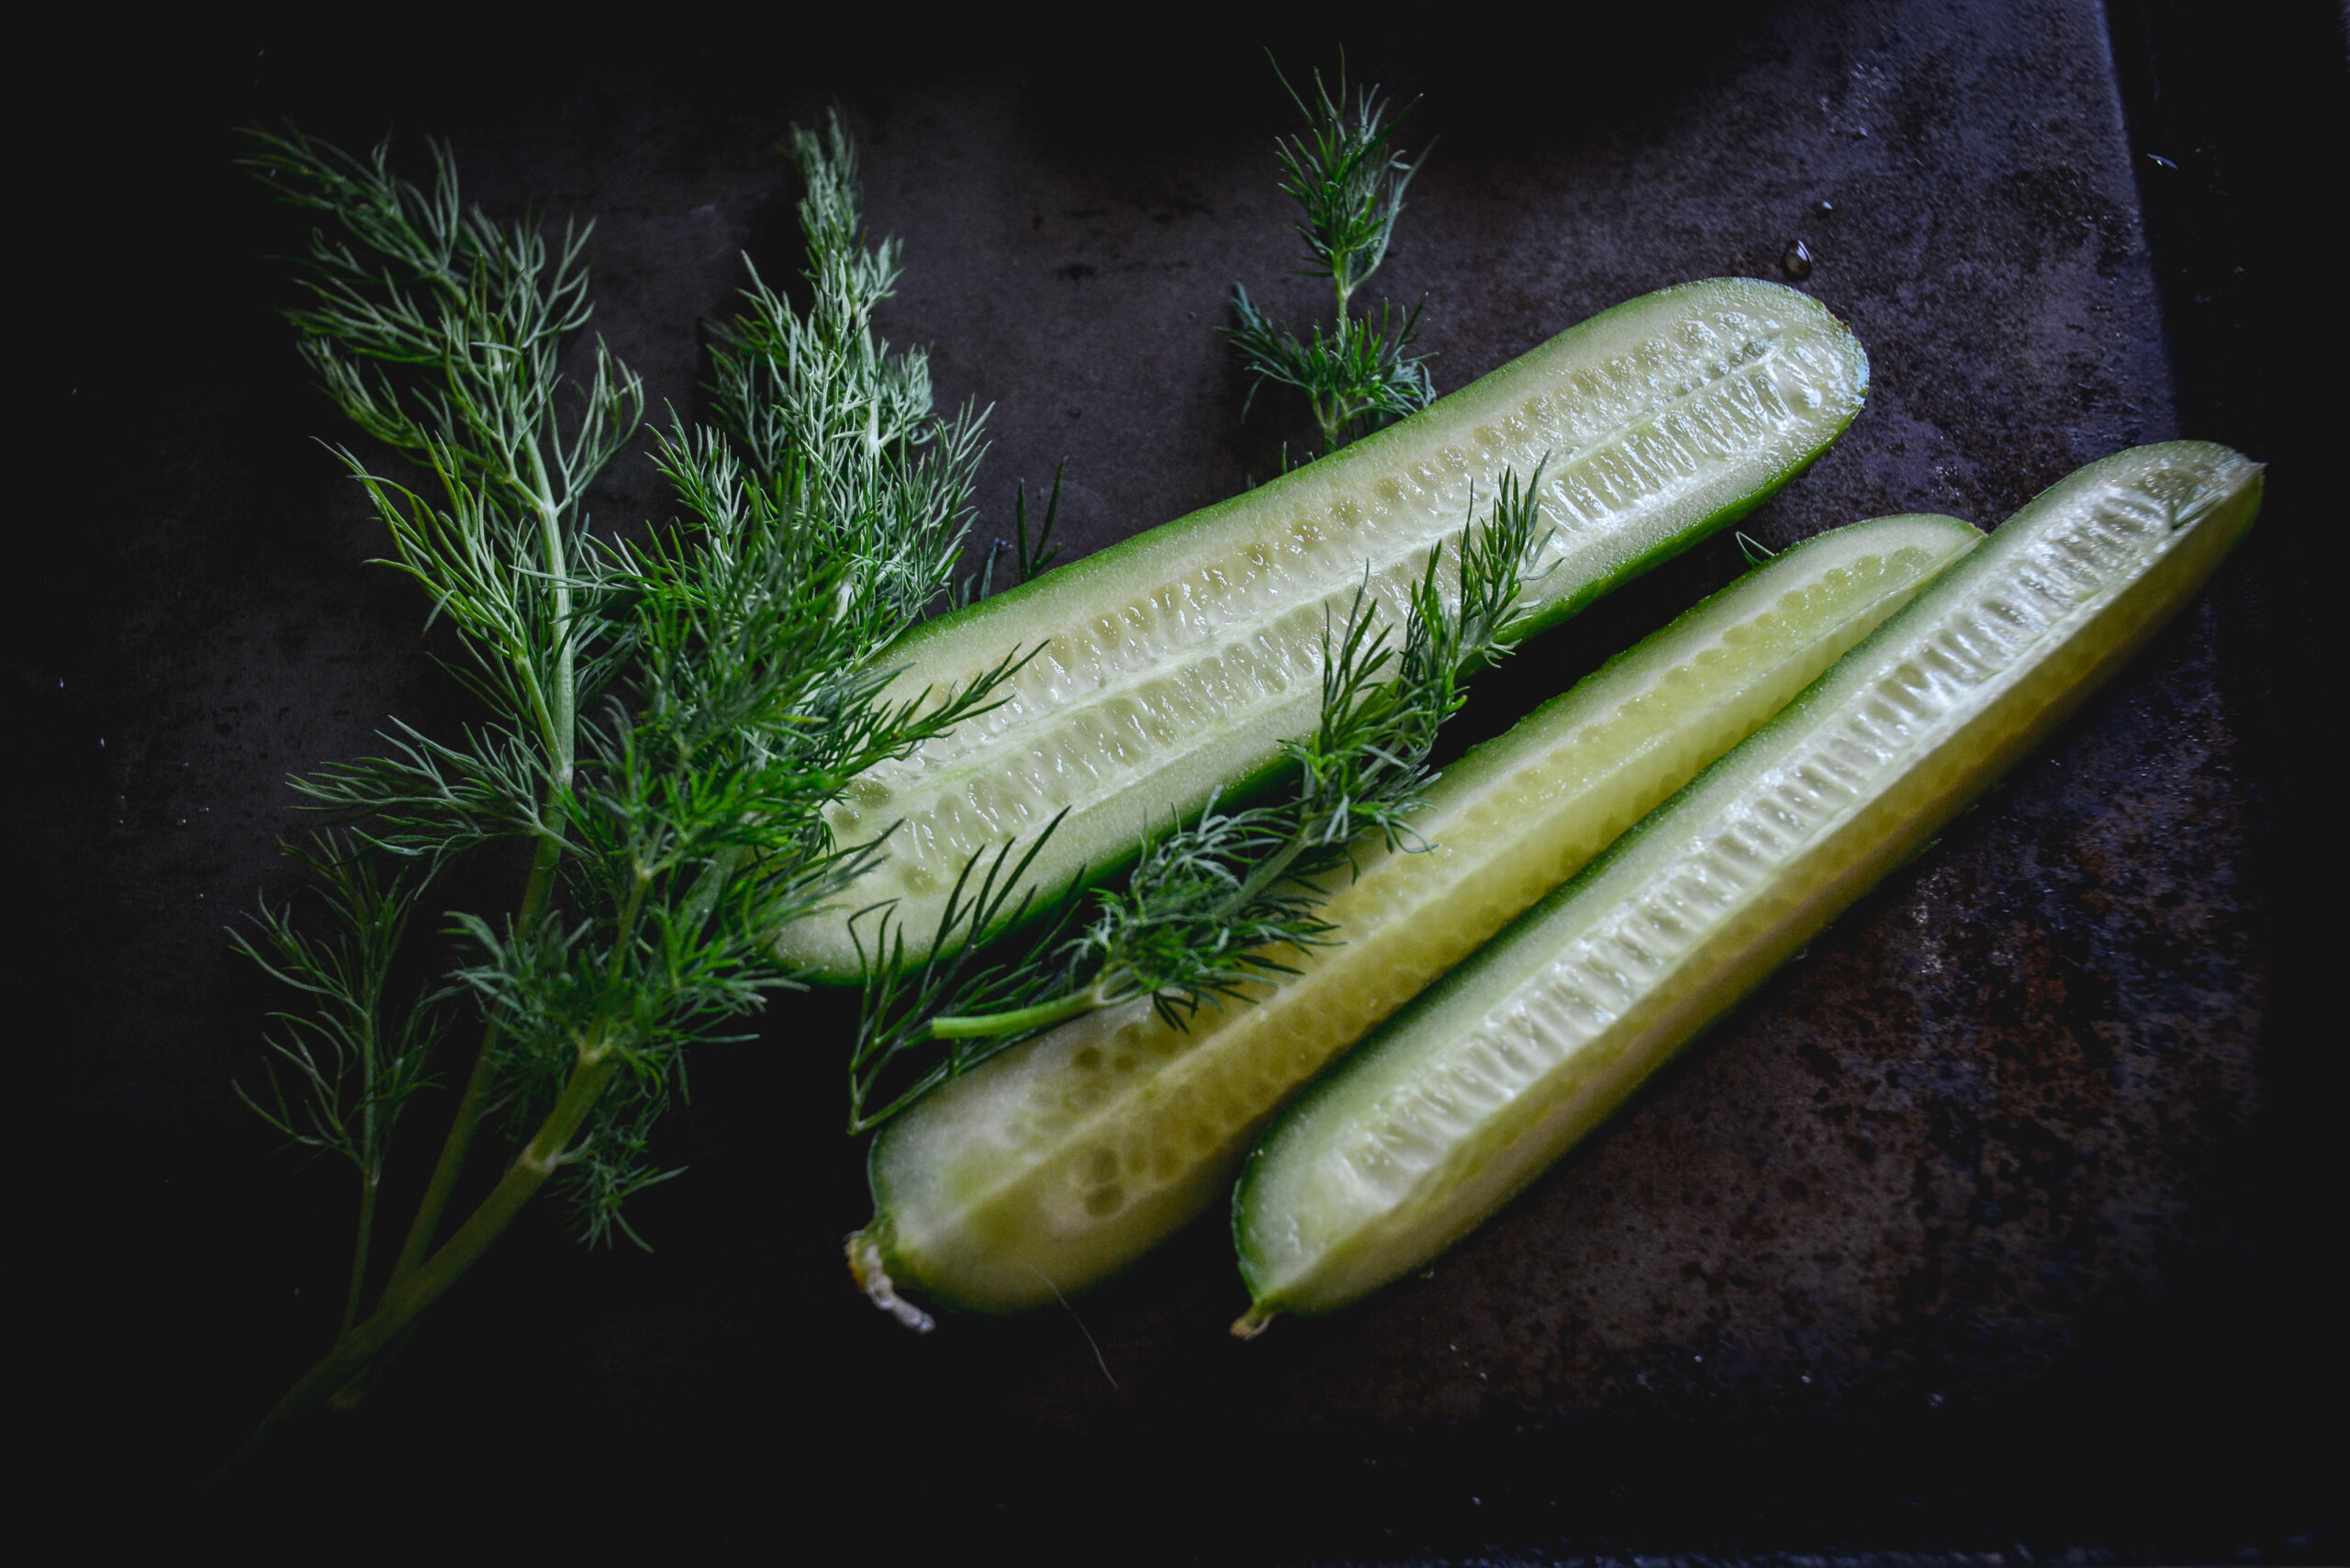
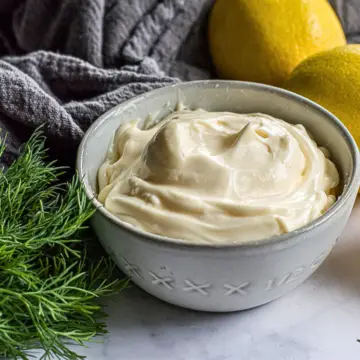
Feel free to add the seasoning of your choice. I prefer dill and garlic.
Step 1. Prior to starting the fermentation process, I recommend putting your jars and lids into a large pot of water and boiling them for at least 10 minutes. You can do this while you make your brine and the jars and brine can cool at the same time.
Step 2. To prepare the brine, combine warm water and salt and set aside to cool.
Step 3. Slice garlic cloves and add to jars along with as much fresh dill as you want.
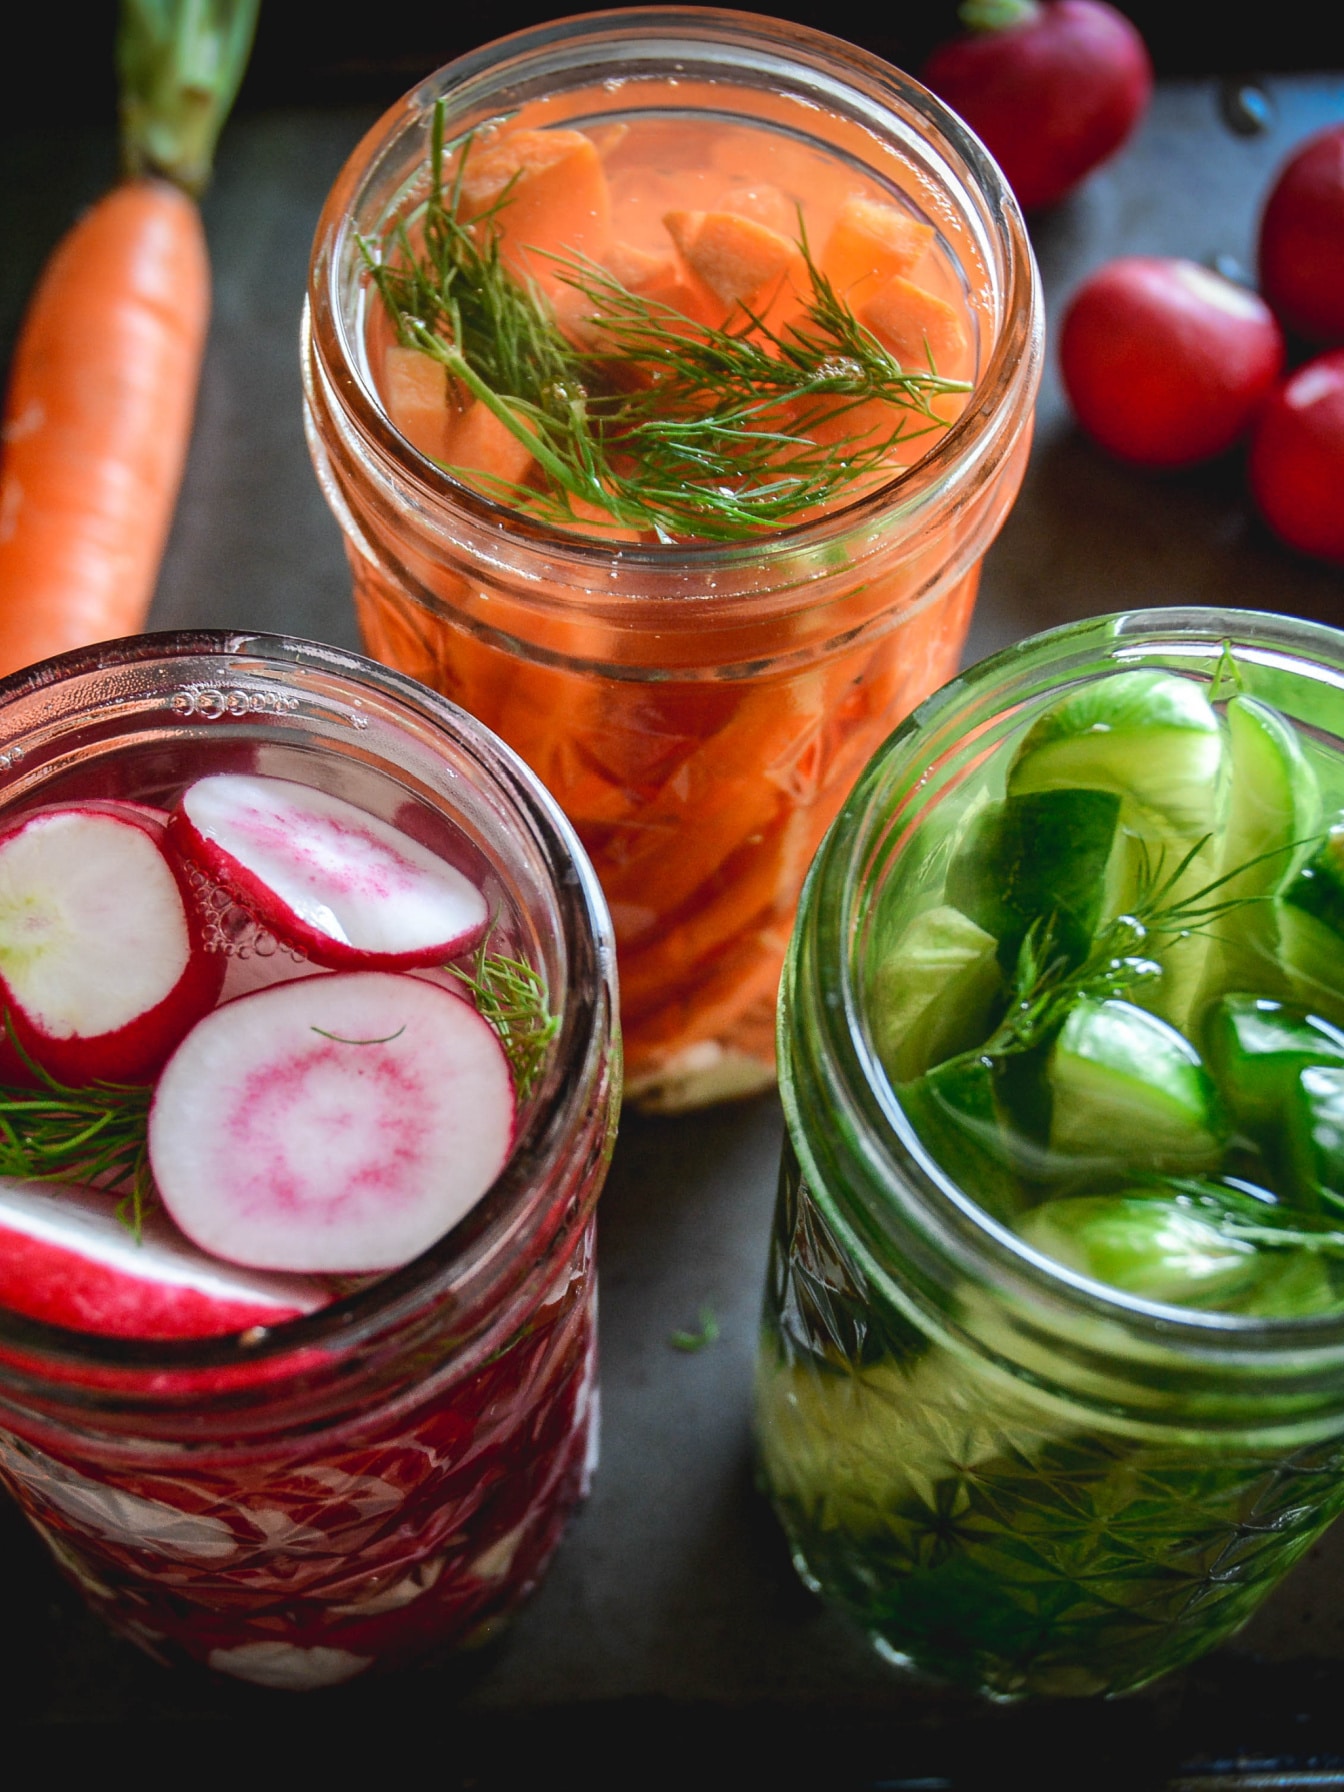
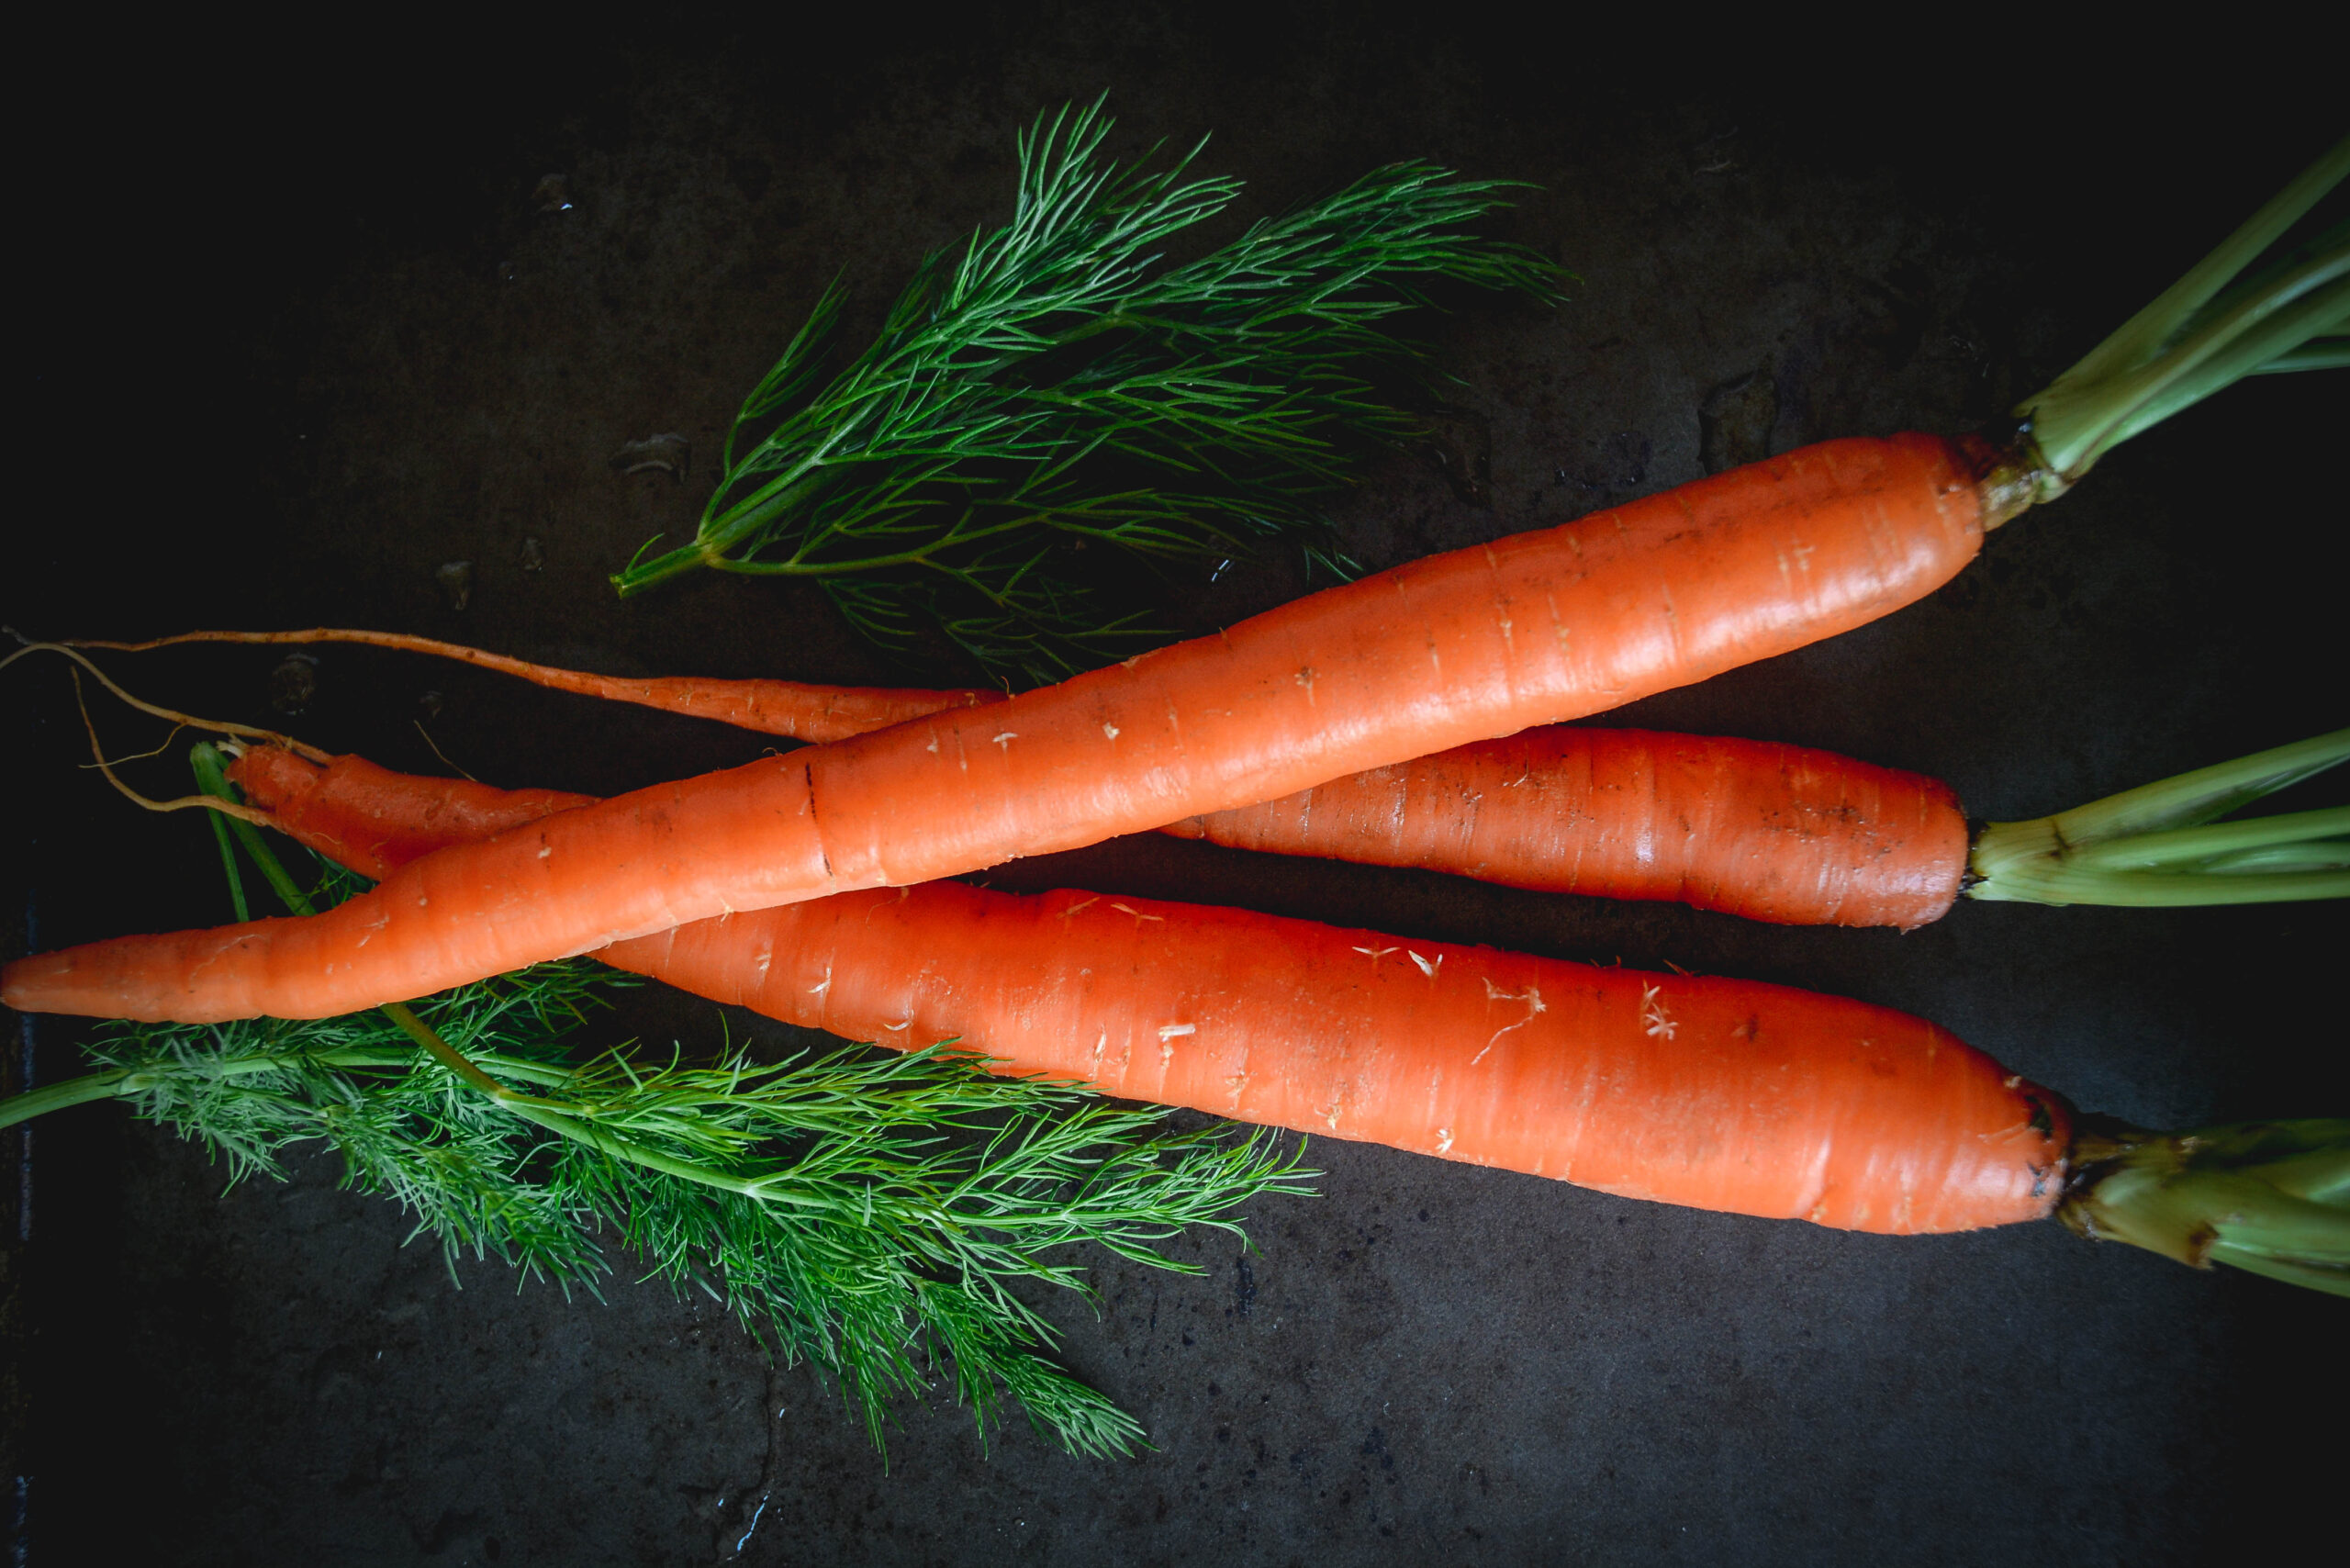
Step 4. Slice radishes and cut carrots and pickles to be slightly shorter than the jar. Tightly pack each into jars, as many as can fit. Pour the cooled brine and fill all the way to the top ensuring that vegetables are covered completely.
Step 5. Twist on the lid and let ferment at room temperature for 7-14 days. Keep away from an area with temperature fluctuations such as a stove. If you have leftover brine, store it in the refrigerator and used at a later point.
Preparing your jars before fermenting
I like throwing my jars and lids in a pot of boiling water to ensure the jars are clean and your vegetables ferment properly. Sometimes soap and water don’t do the trick of removing whatever occupied the jars previously, so it’s an added step in ensuring you start with the cleanest possible jars, in order for the saltwater to do its magic on the vegetables.
How long does it take to ferment vegetables?
I can be quite impatient and have opened carrots at about day 8-10. Ideally, I like to give them about 14 days but they’ll be quite delicious if you’re as impatient as I am! Once open, store the fermented vegetables in the refrigerator.
Can you use different vegetables?
When it comes to fermented vegetable recipes, the options are limitless. There are no rules, but some vegetables may not need to rest in brine as they can produce water independently. One example is sauerkraut. Here is a simple recipe for making your own sauerkraut.
Best vegetables for fermenting
- Carrots
- Cucumbers
- Radishes
- Green beans
- Bell peppers
- Cauliflower
- Beets
- Broccoli
- Turnips
- Rutabaga
So here are three basic fermented vegetable recipes to get you started! They’re as much fun to make as they are to eat! If you want to make a batch of mixed vegetables, try this fermented vegetable medley.
Where can you find jars for fermenting vegetables?
You can find fermenting jars in most kitchen supply stores and sometimes even in supermarkets. I get mine online here. You can use whatever size jar you prefer. I prefer pint-size jars as those seem to work out best and are easily stored in the refrigerator once opened.
More Fermented Vegetable Recipes
📖 Recipe
Fermented Vegetabels Recipes
Ingredients
- 1-2 lbs organic carrots cut into sticks
- 1 bag organic radishes, sliced
- 6-8 organic pickling cucumbers
- 1 quart filtered water
- 2-3 tablespoons fine sea salt
- 2-3 sliced cloves garlic (or more)
- a few sprigs fresh dill
Instructions
- Prior to starting the fermentation process, I recommend putting your jars and lids into a large pot of water and boiling them for at least 10 minutes. You can do this while you make your brine and the jars and brine can cool at the same time.
- To prepare brine, combine warm water and salt and set aside to cool.
- Slice garlic cloves and add to jars along with as much fresh dill as you want.
- Slice radishes and cut carrots and pickles to be slightly shorter than the jar. Tightly pack each into jars, as many as can fit. Pour the cooled brine and fill all the way to the top ensuring that vegetables are covered completely.
- Twist on the lid and let ferment at room temperature for 7-14 days. Keep away from an area with temperature fluctuations such as a stove. If you have leftover brine, store it in the refrigerator and used at a later point.
Nutrition Information:
Yield: 24 Serving Size: 1Amount Per Serving: Calories: 15Total Fat: 0gSaturated Fat: 0gTrans Fat: 0gUnsaturated Fat: 0gCholesterol: 0mgSodium: 817mgCarbohydrates: 4gFiber: 1gSugar: 1gProtein: 0g

Carol Little R.H. @studiobotanica
Thank you for sharing this idea and presenting it in a very easy DIY way. I am sure that many will try this and enjoy and become 'fermenting fiends' ~ I will make this for sure! So pretty too.. bet the veggies stay fresh 'n crisp!
Daniela Modesto
Ah they really do taste quite good and honestly so simple to whip up!
Gerlinde
I love pickled veggies, thanks for the easy recipe.
Daniela Modesto
You're so welcome! I love them too!
Shelby @Fitasamamabear
So tasty and so healthy for you! Fermenting blows my mind how awesome it it 😀
Daniela Modesto
I agree...such a simple method yet so amazing!
theresa
Thanks for sharing this I've been wanting to try
Raia
Mmmm... those pickles look amazing! I want some right now. 🙂
Daniela Modesto
hahah yes, they are quite delicious!
Melissa @Real Nutritious Living
I’ve been wanting to make these! So pretty!
linda spiker
These look amazing! And your photos are gorgeous as always!
Jen Mc
DO you need to release the lids daily while its fermenting or keep them closed?
Daniela Modesto
You can if your lids are budging and look like they need to be released. I haven't had to. It's a personal choice really. Some methods say to release once or twice a day if you have a super active ferment.
Billy
Thanks so much for sharing this recipe! I love fermenting vegetables and pickles and definitely can't wait to try this at home!
Daniela Modesto
Hi Billy - I'm so happy to hear this! I just opened a fresh batch of carrots and radishes after 8 days and they were delicious!
michele
I'm new to fermenting so this is probably a silly question but it says to ferment for 7-14 days and in your blog you said that you used to ferment veggies to be had all year. What do you do with them after the 14 days to keep the preserved for the winter?
Daniela Modesto
Hi Michele - My grandparents kept them all winter too! After 14 days you can put them in the fridge and eat them but if they're airtight and properly preserved, they can ferment for months and months. After 14 days they've had enough fermentation though and could be placed in the refrigerator once opened! I hope this helps!
carol A. carrick
thank you for the wonderful information but I must have missed where you indicated jar size for these recipes. Are you using quarts or pints or larger? Thank you,
Daniela Modesto
Hi Carol! Thank you so much for visiting! The size jar is entirely up to you! Pint-size would work perfectly for this! I will go ahead and include this in the text as well to make sure it's clear! Thank you so much and happy fermenting! 🙂
Jessica
Do you ever add vinegar, wine, soy sauce, fish sauce, or sugars? Would it mess up the fermentation process?
Daniela Modesto
Hi Jessica, those sound amazing but they would interfere with the process that provides the gut healthy bacteria. This is why salt and water are the essentials here. If probiotics are not a concern, experimenting with flavors sounds amazing and worth a go! 🙂
Dee Meyer
To have these all year, can they be stored as other canned vegetables? I wouldn't have room in my refrigerator to store all I need. So I guess I'm asking if this makes them shelf stable.
Daniela Modesto
Hi Dee! I completely understand! If you're looking to make a big batch, you can use a large jar and store it in a cool, dry place (such as a basement) for up to 3 months. They will be perfectly preserved. This will also work for small jars if that's all you have to work with! The salt will act as a preservative. 🙂
Jessica Crew
Hi I read in the comments that unopened these last 3 months outside of fridge. How long do they last in the fridge unopened? All winter, plus some? (5- 7 months?)
Also you said any jar is fine with your specified amount of salt. I believed you used pint size. Assuming you don't need to double the salt if you double the jar size?
Daniela Modesto
I haven't tested them that long as my children typically devour them well before they reach that stage but I would imagine if you're looking to keep them for that long, they would be fine. Salt is a preservative. And as far as the jar, it doesn't really matter as you would prepare your brine in advance separately. All you need to do is combine the salt and warm water and set aside to cool, then you can use the brine in any size jars you wish! I hope this helps!
Beth
Hi! I’m new to fermenting veggies and I don’t see anything about having to burp these every day. Is that not necessary here? Thanks so much!
Daniela Modesto
Hi Beth! Not necessary! If that's something you want to do, you certainly can but I don't burp them and they turn out perfectly fine 🙂 I learned it from my Romanian grandparents and they would put the lid on and forget until they were ready to open them!
Christina Hammond
Ok, so then you open and eat as raw veggies? Because if you cooked them you would lose probiotic part, right?
I've never seen orange cauliflower? Is that because it is organic?
Daniela Modesto
Hi Christina! Yes, you got it. The salt naturally preserves crunch and ferments the vegetables to they are tangy and salty. You can find different varieties of cauliflower-like green, yellow, orange, purple. Sometimes they're organic, others not, depending on where they are grown.
Kaylyn
Hi! My pickles are becoming yellowish, cloudy and there is a milk white residue on the bottom. Is this normal?
Daniela Modesto
Hi Kaylyn! There could be several reasons for this. It could be residual bacteria or yeast that's left in the jar. Was the jar fully cleaned prior? Also, the garlic can sometimes break apart and cause the whitish residue you're seeing. You can be your own judge and see how the pickles taste. They may still be perfectly fine. Also, how long have you been fermenting them? What kind of salt also? Feel free to shoot me an email and I'm more than happy to trouble shoot or we can continue talking over comments! Whichever works for you 🙂 Email is [email protected]
Linda
Thanks so much for this recipe. I plan to make this.
Daniela Modesto
I'm thrilled to hear this! Thank you so much for visiting the site 🙂
Mirta Moreno
Will a regular lid work or does it have to be the 2-part kind?
Daniela Modesto
As long as it's airtight, you're good to go!
Antonella Russo-Ball
hello. can you -or someone- please hare what a quarter water corresponds to? a quarter of a litre? thank you
Daniela Modesto
Hi Antonella! I'm happy to help - one quart is .95 liter, so almost 1 liter. So to help convert to metric, you would need about 30 grams of salt and 1-liter of water. I hope that helps!
Ginny
Hi, is it true that you can ferment this easy, without burping or air exchange? As vegetables ferment doesn't it give off gasses? Where do the gasses go? Just use a clean/sterilized glass jars, lids and rings?
Daniela Modesto
Hi Ginny, it's that simple. This is the way I've been making them and it's always worked out. If you feel the need to burp them, you can. I won't generally remember to do that daily. After 8-14 days, you'll see the bubbly brine when you open the jar. I hope this helps!
Deb
Hey there!
Can you use tank water (rain water) instead of filtered?
dmodesto
Hi Deb! Interesting question. If that's water that you typically use, then go for it. I always think back on my great-grand parents in Romania and what they used, so as long as the water is clean, you're good!
Cindy
I followed the directions exactly but after just 3 days my jars are all cloudy. What should I do? Are they all bad?
dmodesto
Did you submerge the vebetables and they're covered with brine? If they are not, then they will be no good. They have to be fully submerged. Is the ratio of water to salt accurate? If they are submerged and the salt is ratio is okay, then leave them and see what happens at about day 8-10. If you get bubbles, you have fermentation, if you don't, then please throw them out...