The perfect way to preserve delightful summer veggies is simply in salt and water. This ferment is gut healthy and very easy to make.
I'm on a serious gut health kick this week. And for good reason. Admittedly I've been slacking a bit the last few weeks. Work became stressful, keeping up with everything felt overwhelming and I mindlessly gravitated towards, for lack of a better word, shit food. It had gluten free plastered all over it but just because it was gluten free doesn't mean it was good for me.
It's easy getting trapped in the "it's only a few" mentality but the truth is, if you have gut issues, a few every day is just enough to bring all the symptoms back and make you feel like garbage. I felt a bit hypocritical because here I am, a big proponent of real food stuffing my face with gluten and dairy free food like stuff.
Without much fanfare and self loathing, I decided to just get back to eating real and minimally processed food. And sure enough it's made a big difference. I've mentioned before that I don't like being overly strict because it feels suffocating but it's important to remind ourselves that a lot of what we see on store shelves is not providing any nutrients or any benefit aside from sheer pleasure because it does taste so damn good.
So what to do when you've gotten off track? Start by getting back to the good stuff. For me that always includes nature's probiotics in the form of fermented vegetables. I mean yes, you can go and buy a bottle of expensive probiotics but why when you can just get them through food! Truly one of my favorite ways of undoing some damage is by eating fermented vegetables.
Do you feel intimidated by the idea of making your own ferments? Don't! It's surprisingly simple and versatile and your little gut bugs will be very happy to say the least.
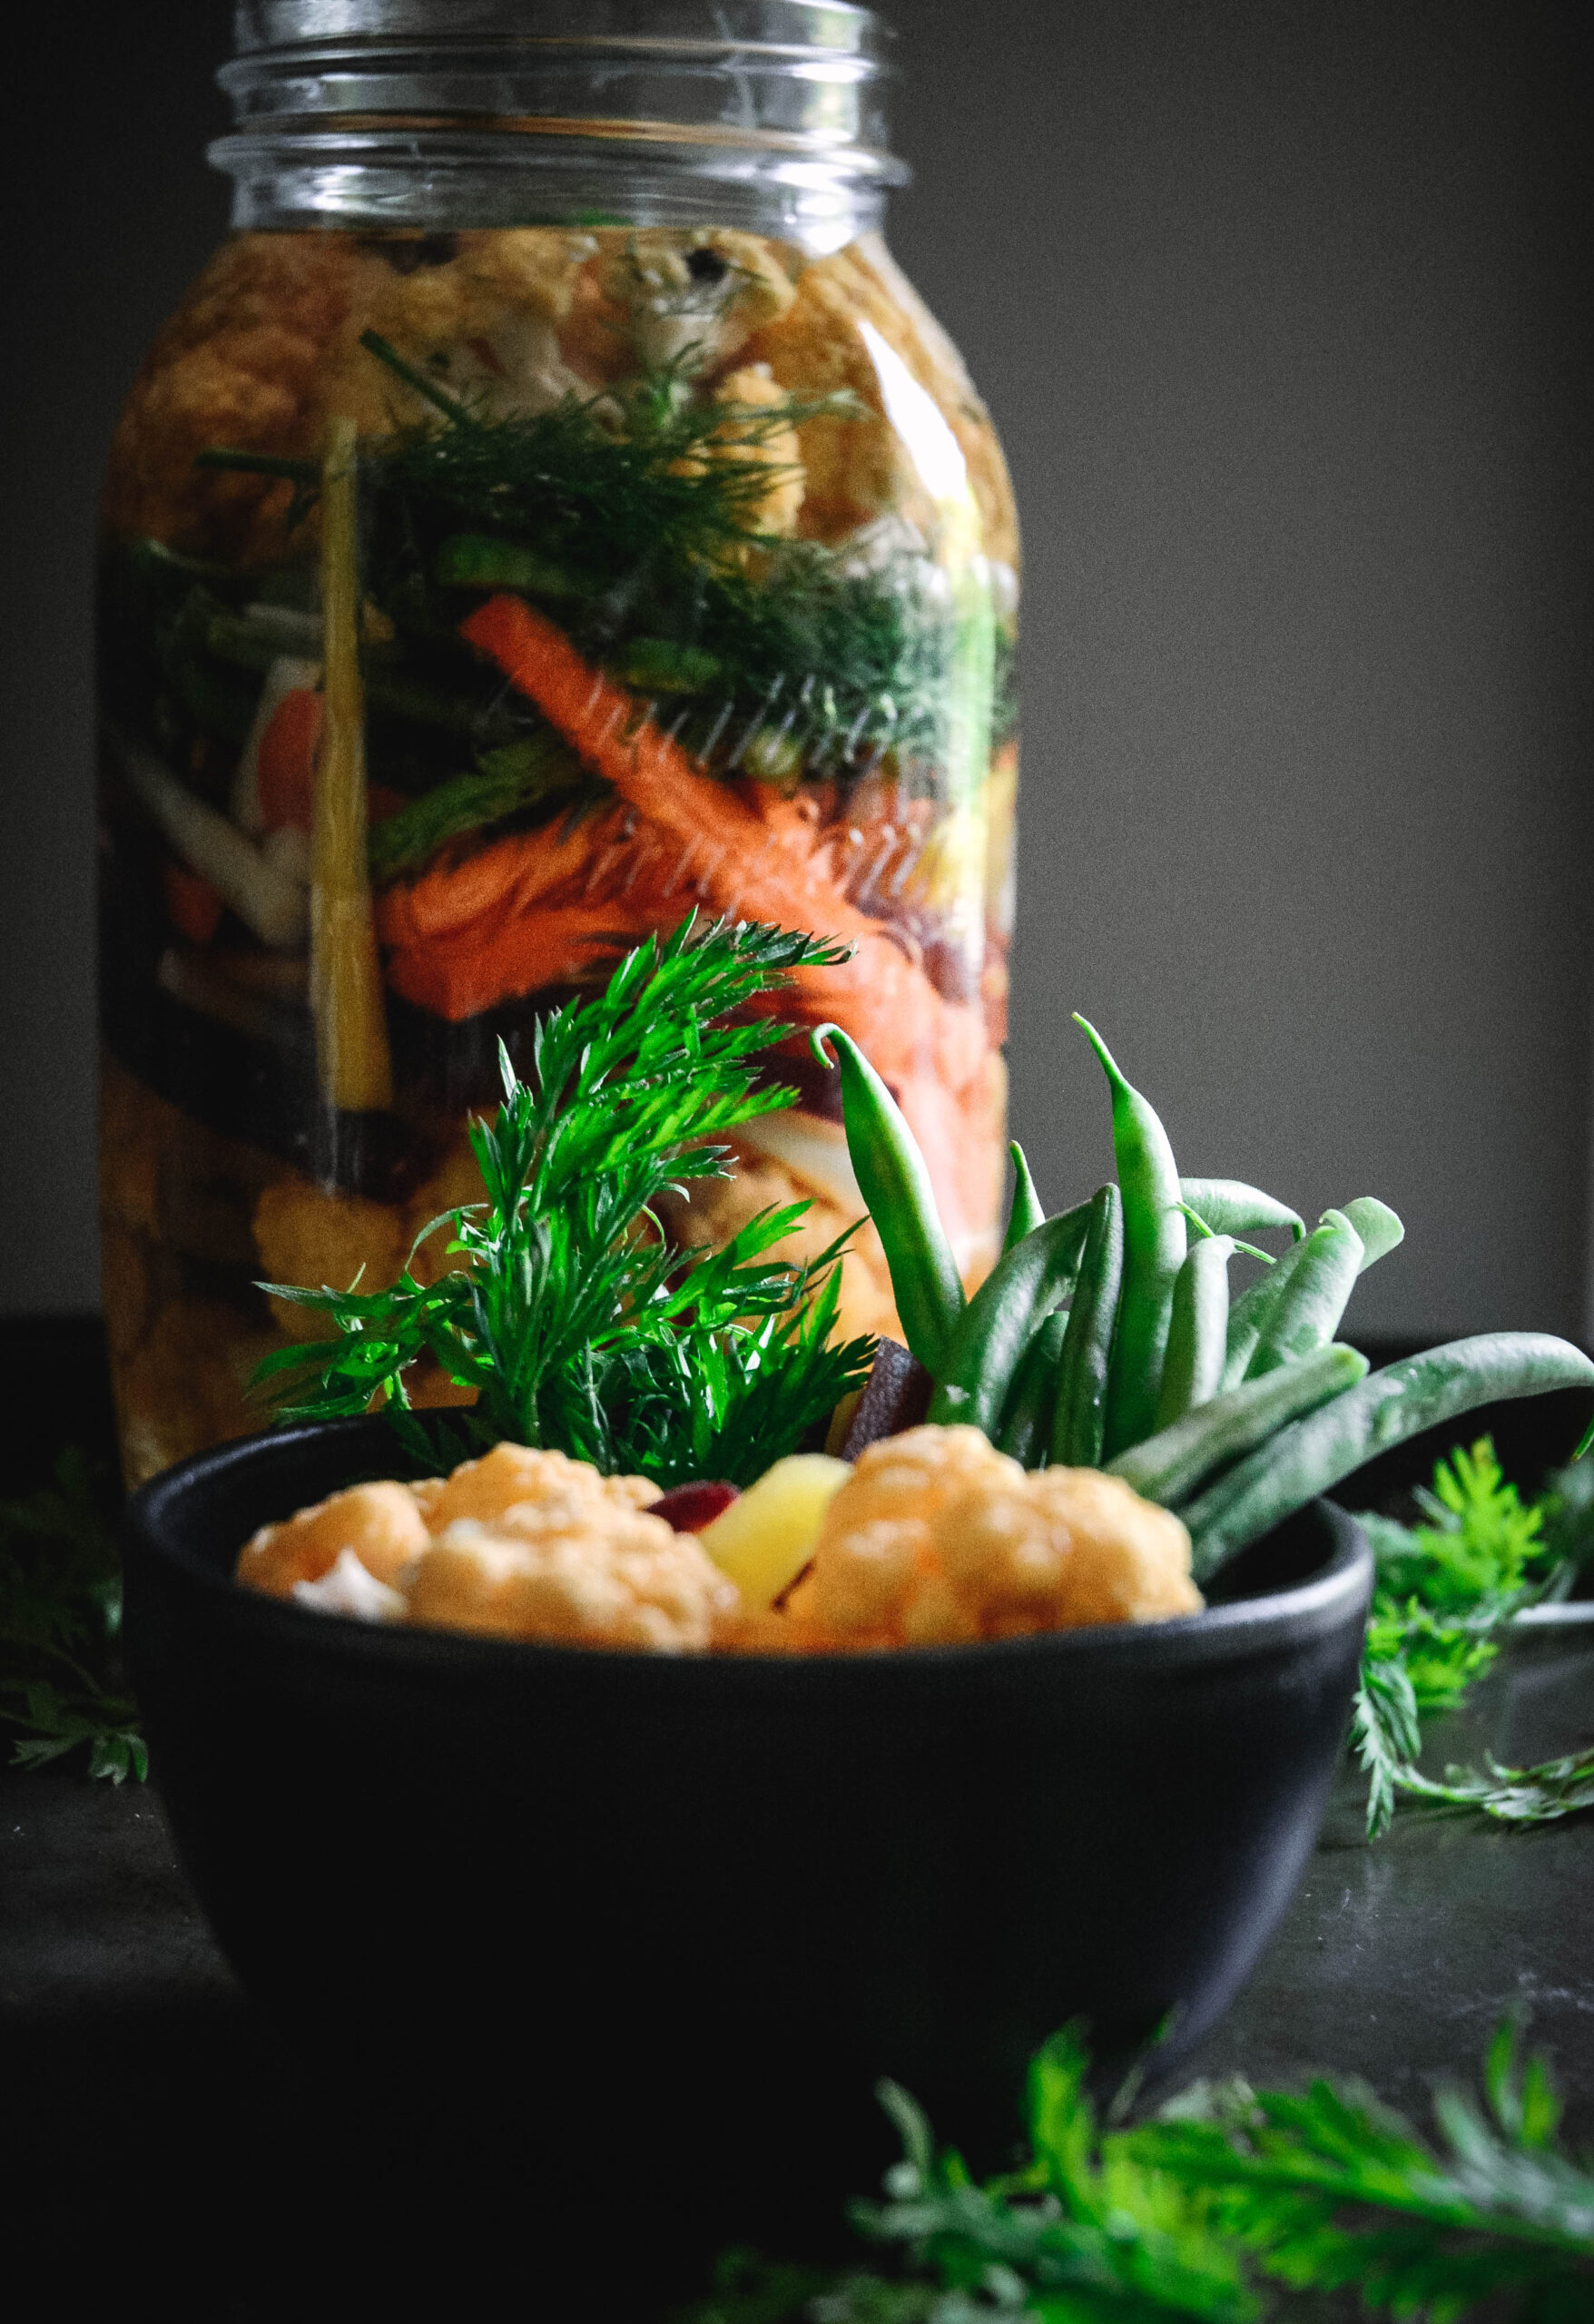
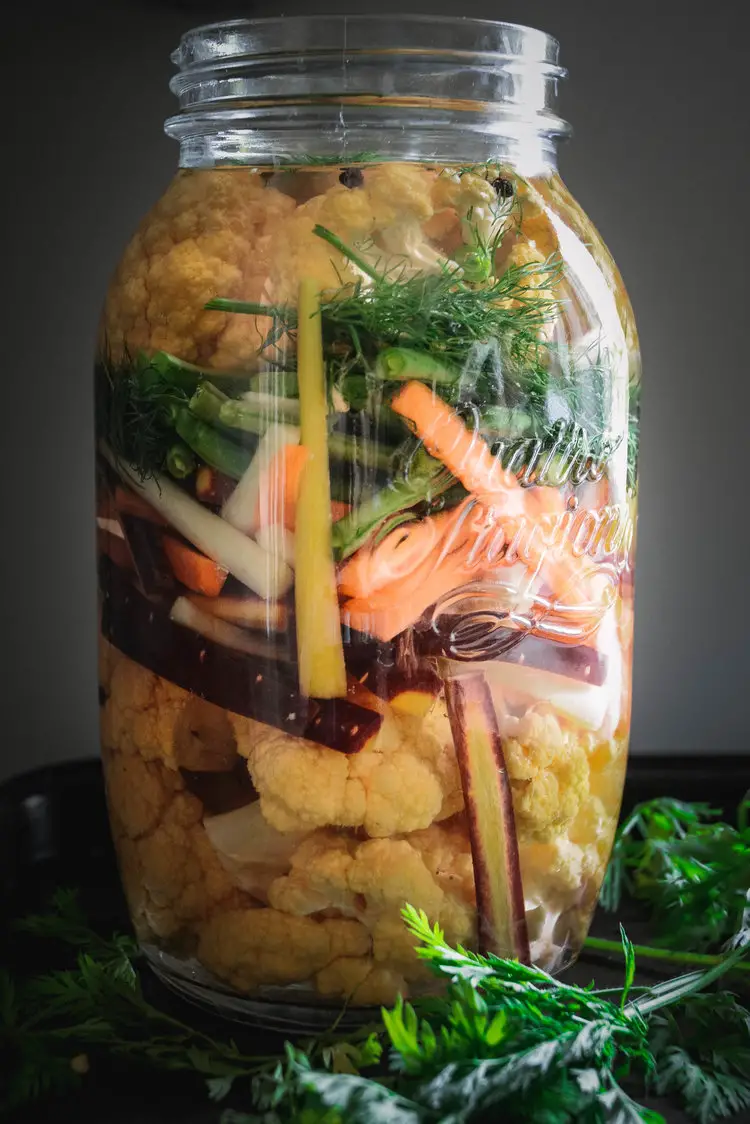
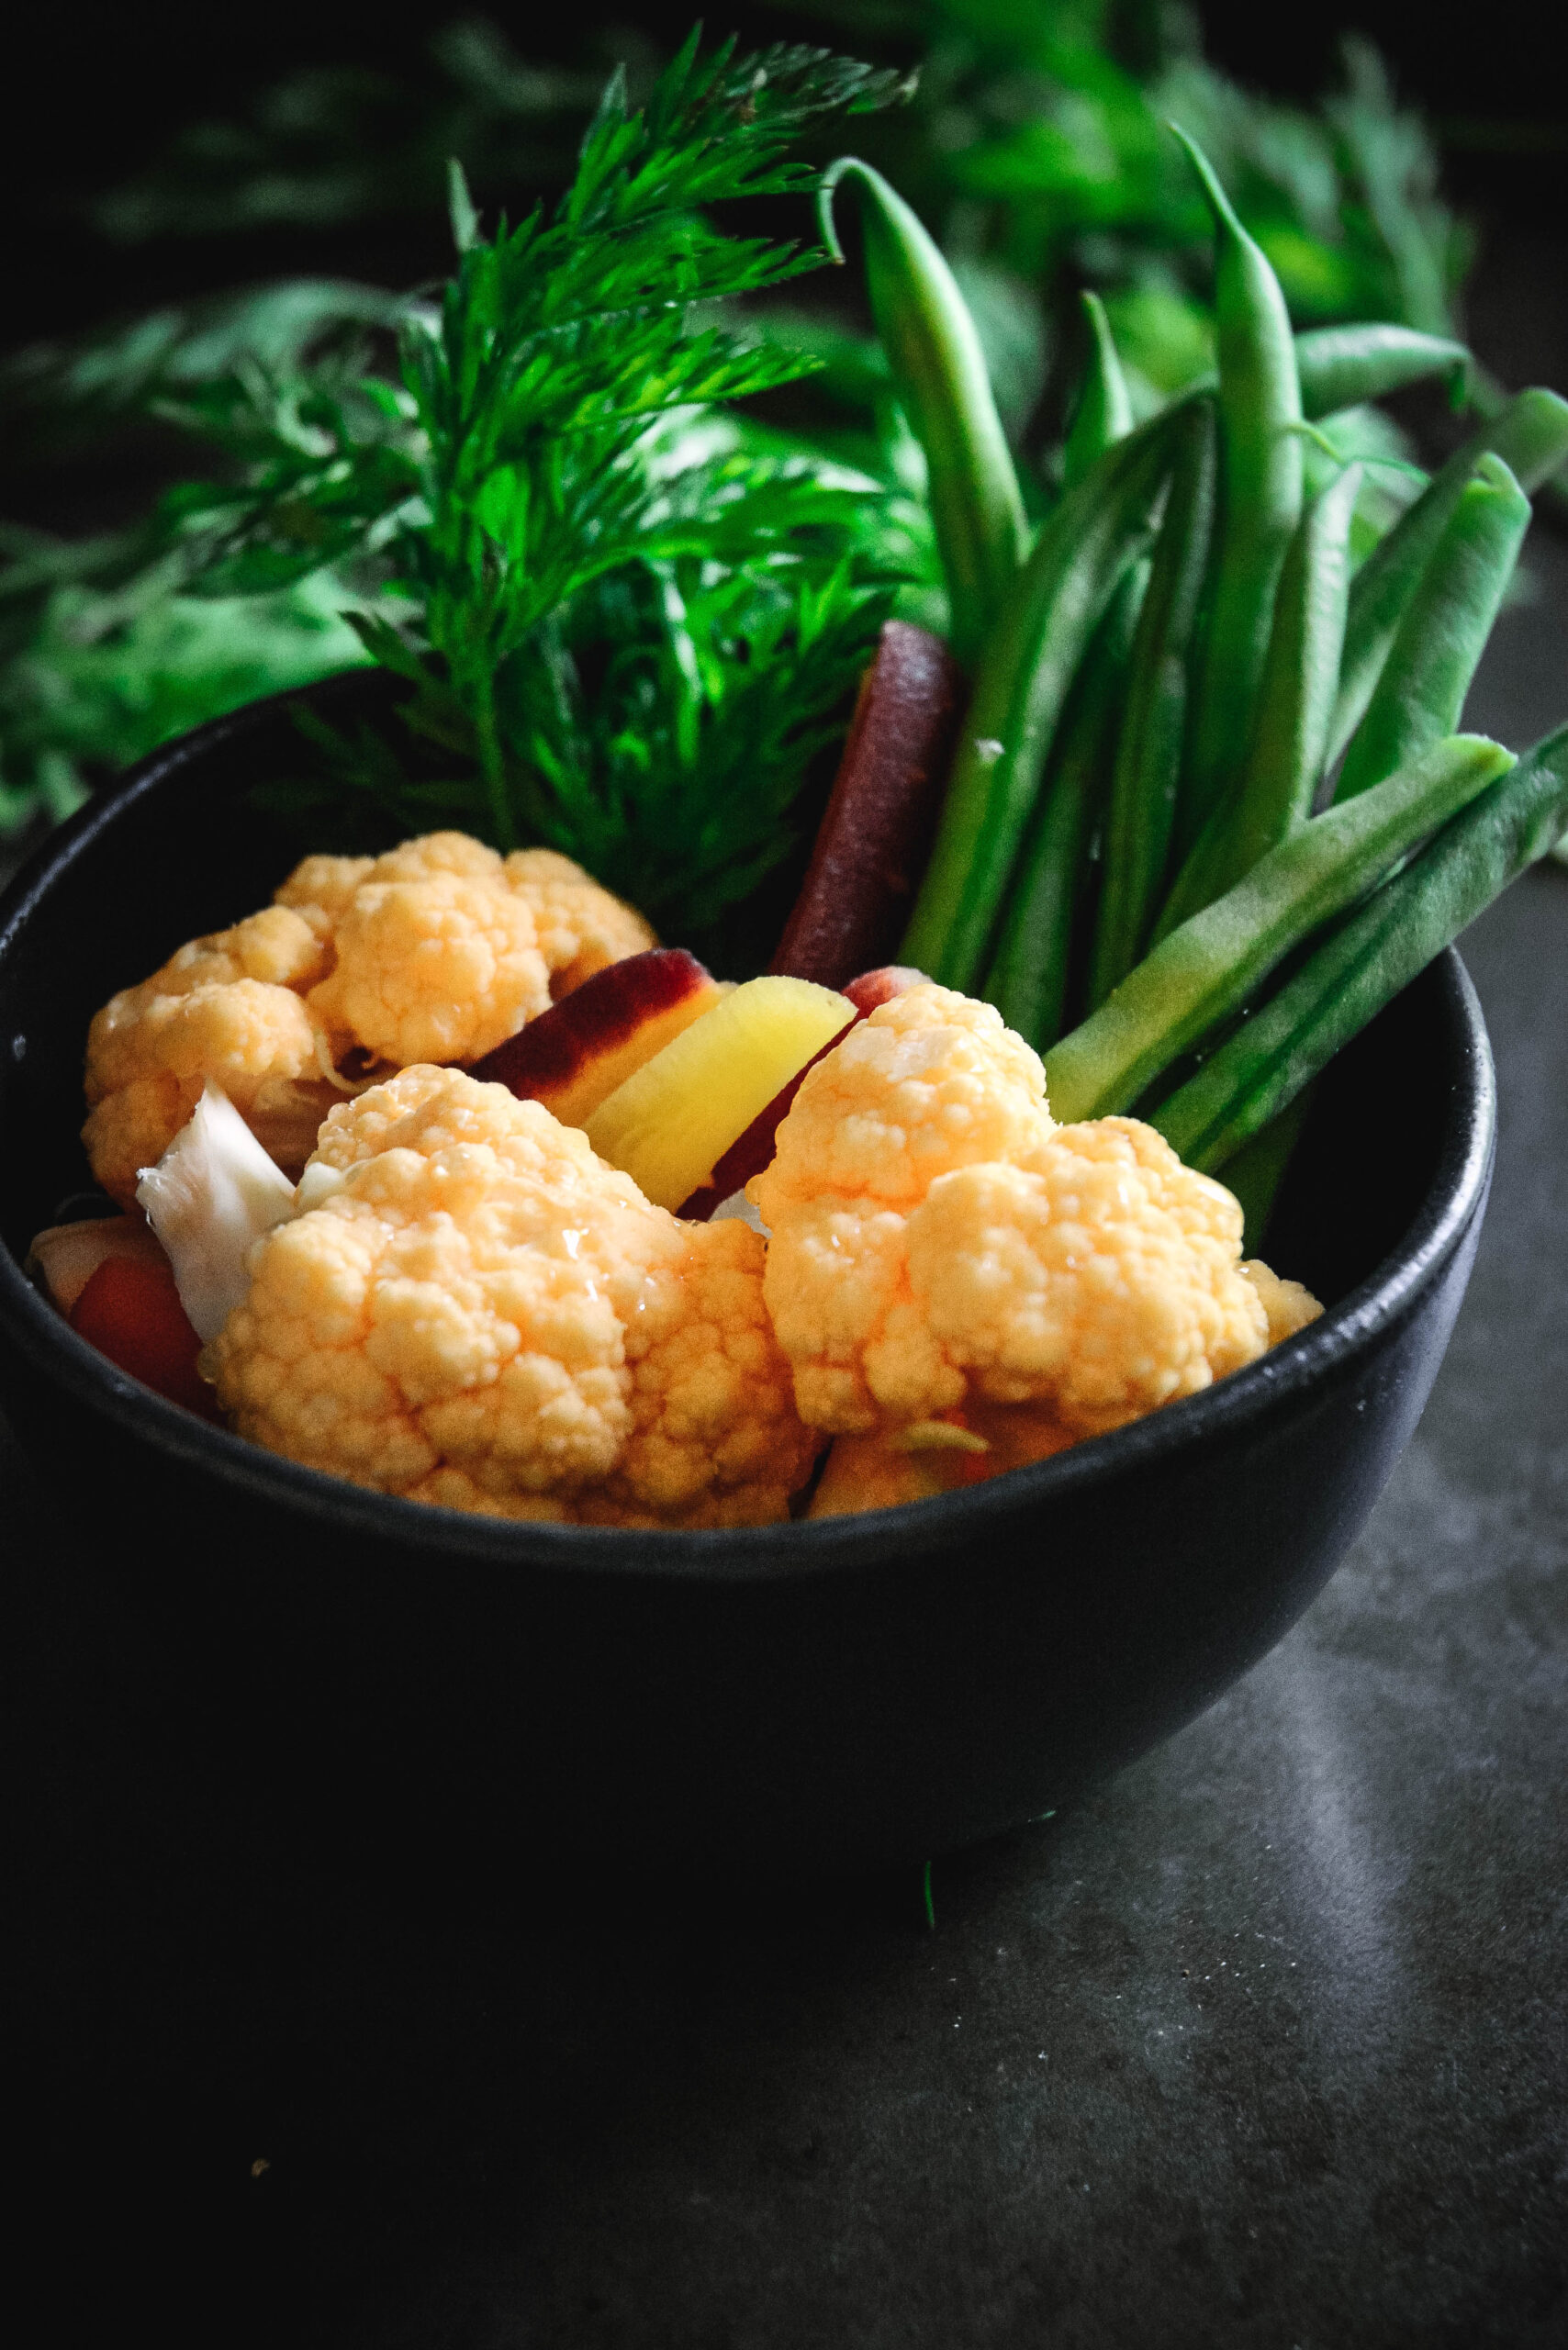
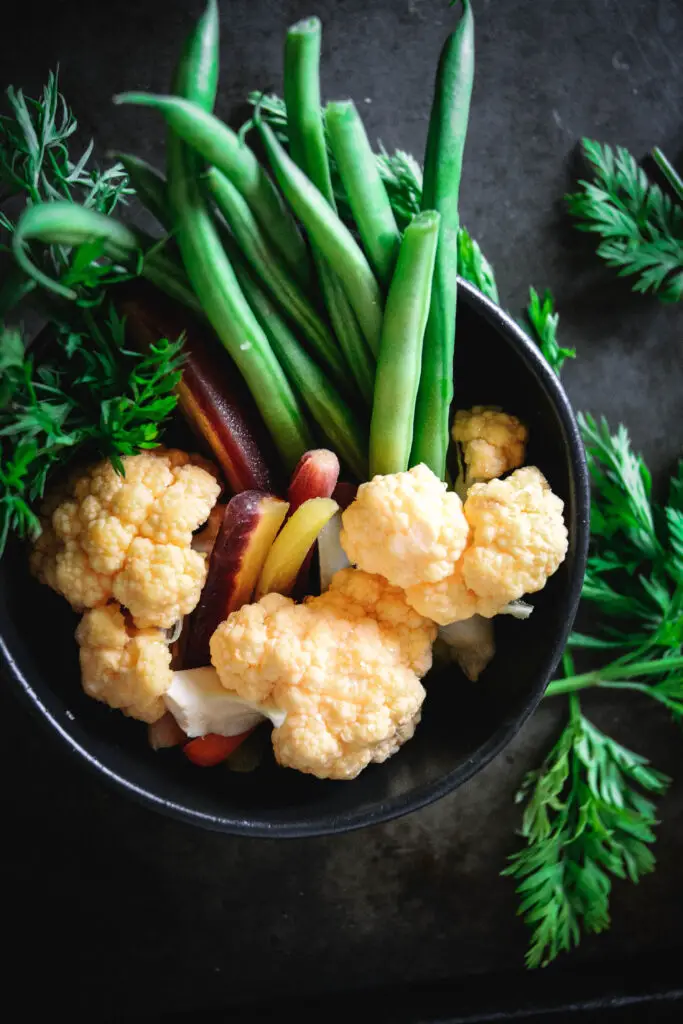
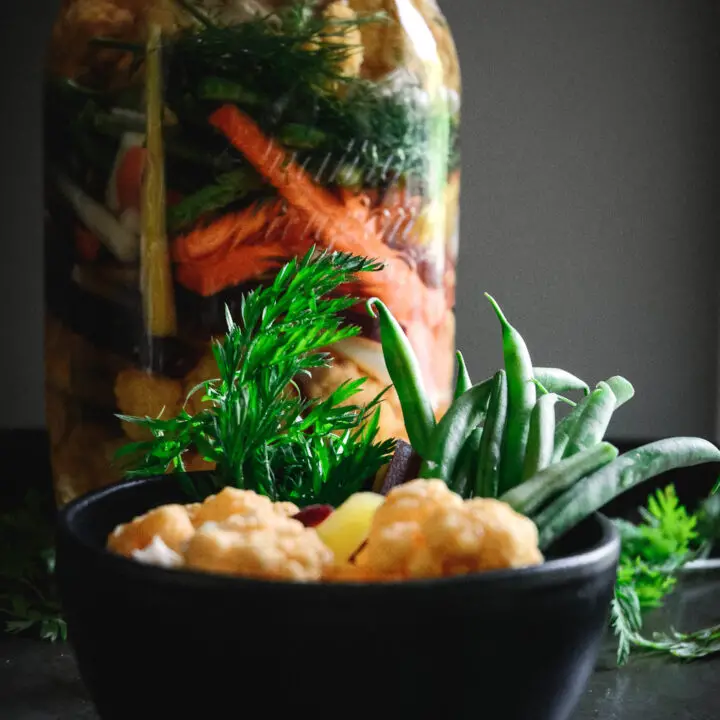
As far as vegetables, you can use whatever you'd like but I find certain combinations work better than others. This assortment is one that my grandparents often made and it's simply cauliflower, green beans and carrots. You can eat fermented vegetables on their own, as a side or chop them up and add them to your favorite dishes.
All you need is a large jar, filtered water, salt and vegetables.
About This Recipe
- It's gut healthy and probiotic-rich
- Simple to make with only salt and water
- Vegan, low-carb, paleo, whole 30
- Naturally gluten-free
- A perfect way to get kids to eat fermented foods
Ingredients Needed
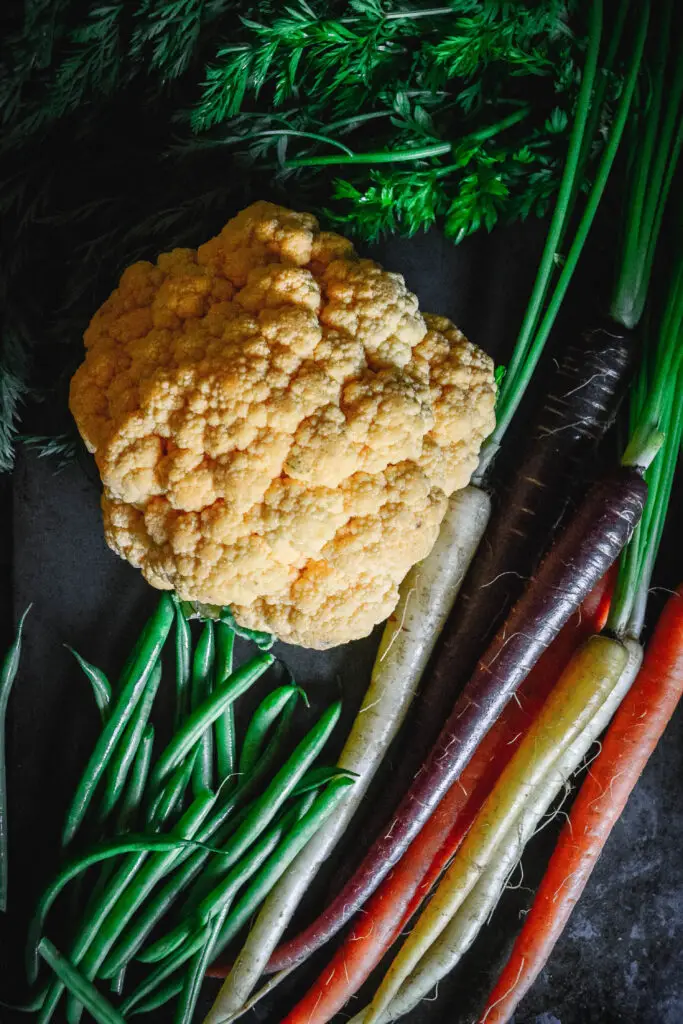
- 1 small head organic cauliflower
- a good handful of green beans
- bunch heirloom or regular carrots
- 2 tablespoon sea salt or pink salt
- 4 cups warm filtered water
- 1 clove garlic sliced
- ½ teaspoon whole peppercorns
- a few springs of fresh dill
Equipment
All you need for this recipe is a ½ gallon glass jar that seals.

Let's Ferment
Step 1. Combine warm water with salt and stir until salt is fully dissolved. Let cool.
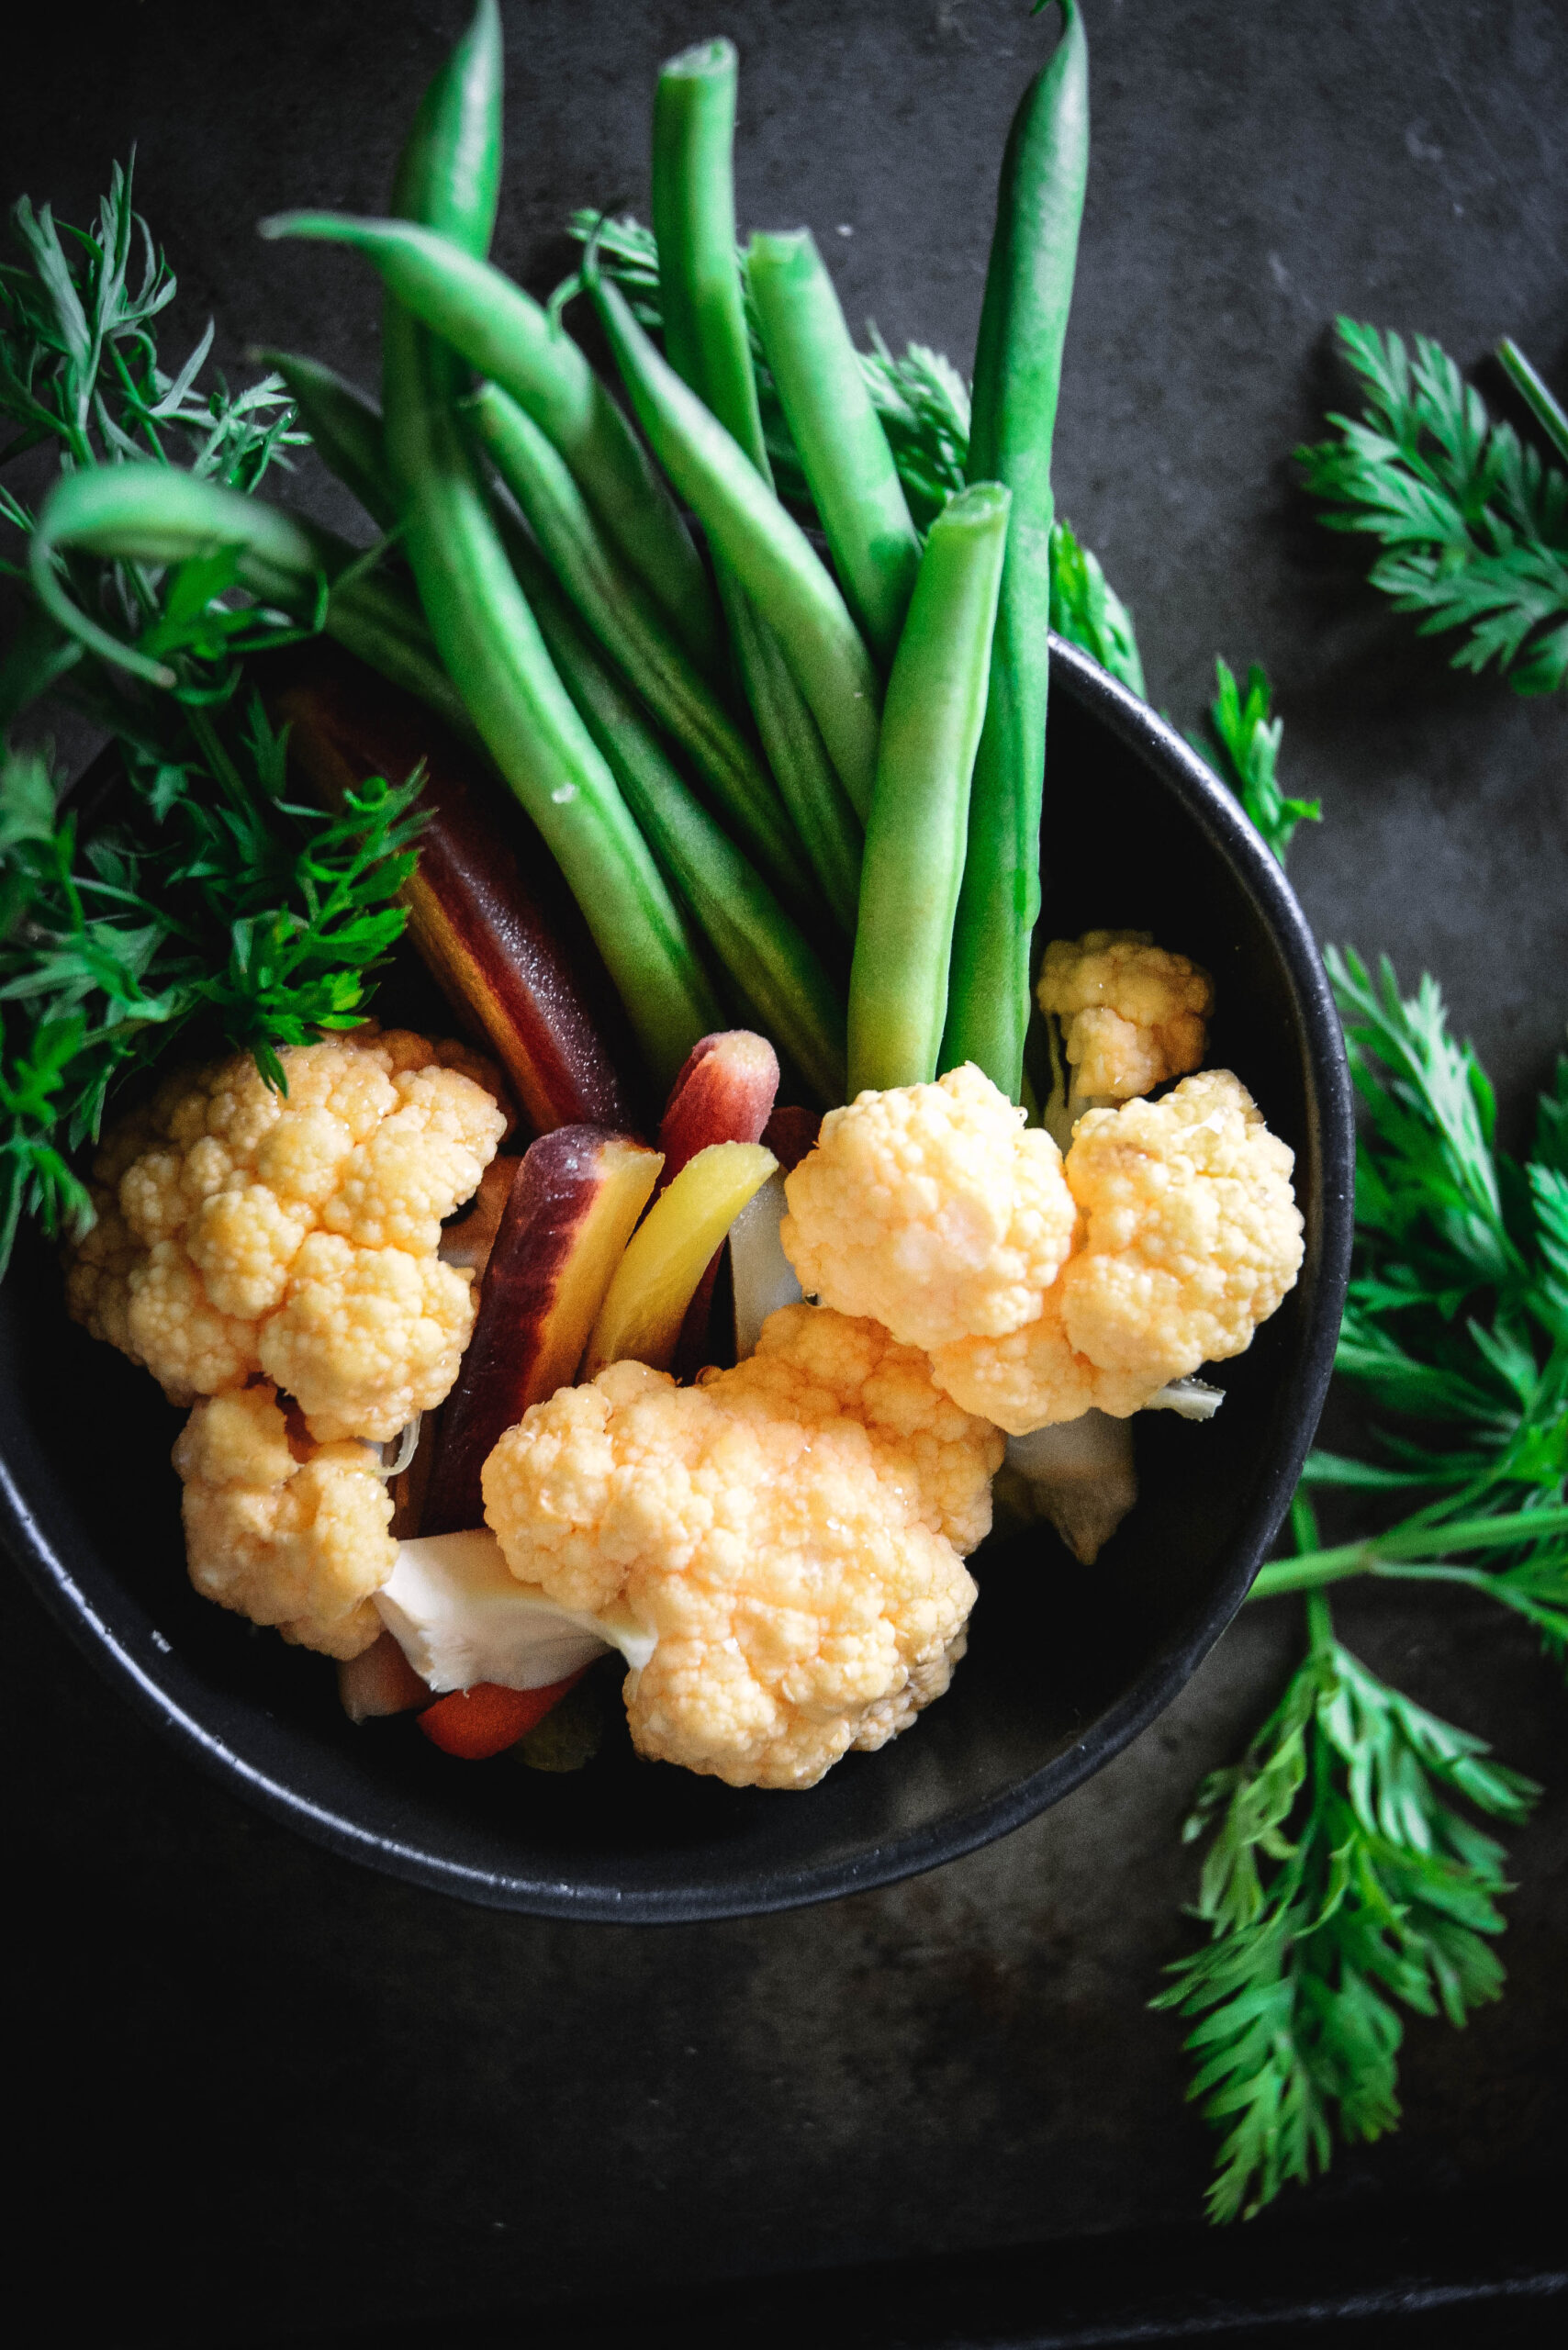
Step 2. Break cauliflower by hand into desired size pieces. Chop carrots in whatever shape you wish, either strips or rounds. You can leave the beans whole or cut them in half.
Step 3. Add all vegetables, garlic, and dill to the jar and add saltwater until vegetables are fully submerged. If you wish to place a fermenting weight you can. Seal the jar tightly and keep away from any places with temperature fluctuation such as stoves or dishwashers.
Step 4. Let ferment for 14 or more days. You can “burp” your ferment daily if you want to release some pressure but it’s not mandatory. That just means twisting the lid off and back on.
Top Tips + FAQs
Do You Have To Use A Large Jar?
For this recipe, I like to because cauliflower tends to take up a bit of space. If you want to use smaller jars, I recommend this recipe instead.
Does The Salt Matter?
I like using sea salt of Himalayan pink salt for this recipe which are widely available anywhere.
Do You Have To "Burp" Your Jar?
That's entirely up to you. I have done it both ways and both are just fine. I grew up watching my Romanian grandparents ferment and they would just set the jars out and forget about them until they were ready to be opened.
Do You Need Garlic, Peppercorns And Dill?
You don't, but I like to add some extra flavoring and dill, garlic and pepper work really well here.
📖 Recipe
Fermented Vegetable Medley
The perfect way to preserve delightful summer veggies is simply in salt and water. This ferment is gut healthy and very easy to make.
Ingredients
- 1 small head organic cauliflower
- a handful of green beans
- 1 bunch heirloom or regular carrots
- 2 tablespoon sea salt or pink salt
- 4 cups warm filtered water
- 1 clove garlic sliced
- ½ teaspoon whole peppercorns
- a few springs of fresh dill
Instructions
1. Combine warm water with salt and stir until salt is fully dissolved. Let cool.
2. Break cauliflower by hand into desired size pieces. Chop carrots in whatever shape you wish, either strips or rounds. You can leave the beans whole or cut them in half.
3. Add all vegetables, garlic, and dill to the jar and add saltwater until vegetables are fully submerged. If you wish to place a fermenting weight you can. Seal the jar tightly and keep away from any places with temperature fluctuation such as stoves or dishwashers.
4. Let ferment for 14 or more days. You can “burp” your ferment daily if you want to release some pressure but it’s not mandatory. That just means twisting the lid off and back on.
Notes
1. Look for ½ gallon glass jar that seals well.
2. Burping is optional (if you want to open and close the lid daily to release air, you can but it's not mandatory.
Nutrition Information:
Yield: 10Amount Per Serving:


Megan Stevens
Yours looks beautiful!!! This is one of my favorite foods of all time, and I love the process, so exciting. I love the veggies you chose, yum!
Daniela Modesto
Thank you so much, Megan! This reminds me so much for my grandparents. This was a staple in their house!
Rachel
I didn't know it was that easy to make! I'm looking forward to trying it... Gut health is so important!
Raia
Gorgeous! My kids love fermented carrots and cauli! Never tried beans on them, though...
Lenore
How do I store the veggies after fermentation?
dmodesto
You can store them in the refrigerator once you open them. I hope that helps, Lenore!