
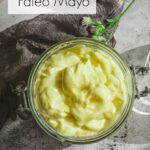
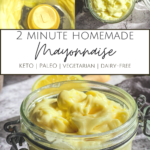
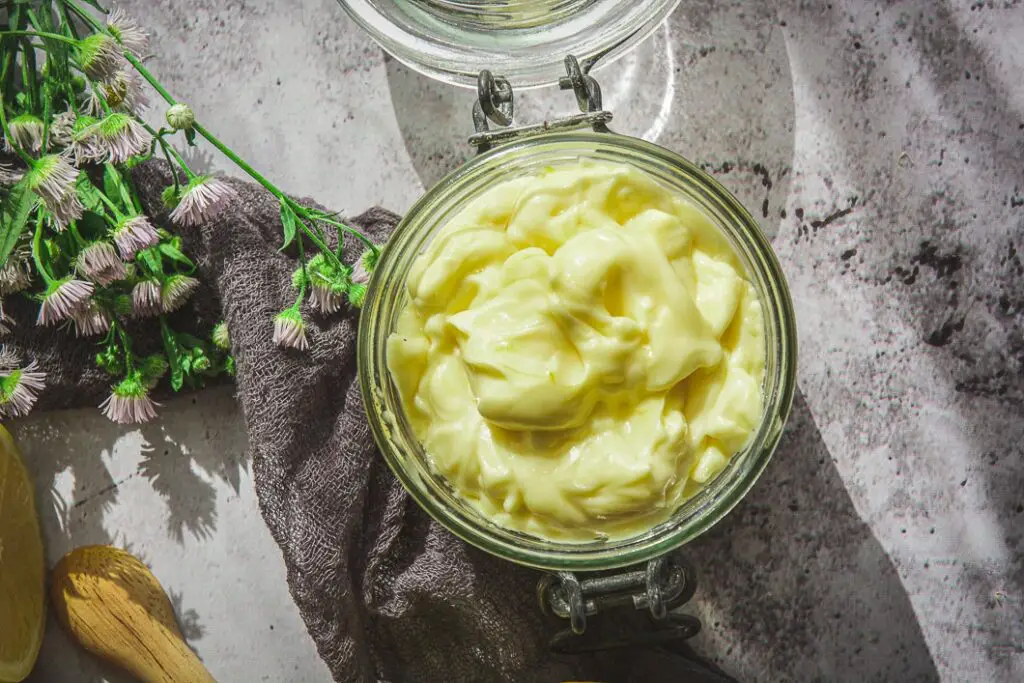
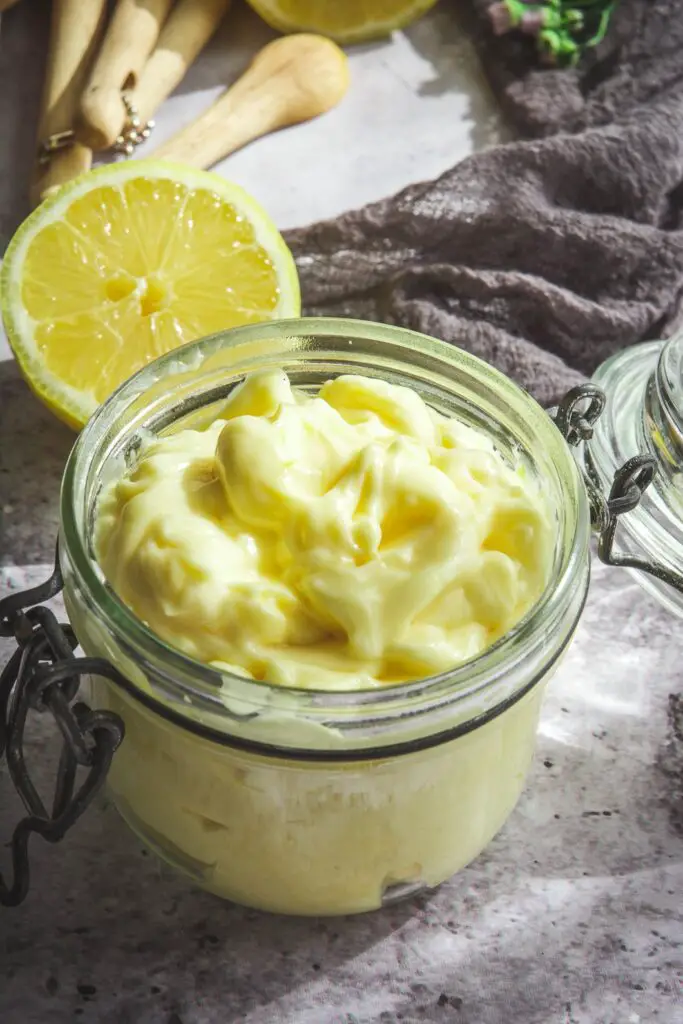
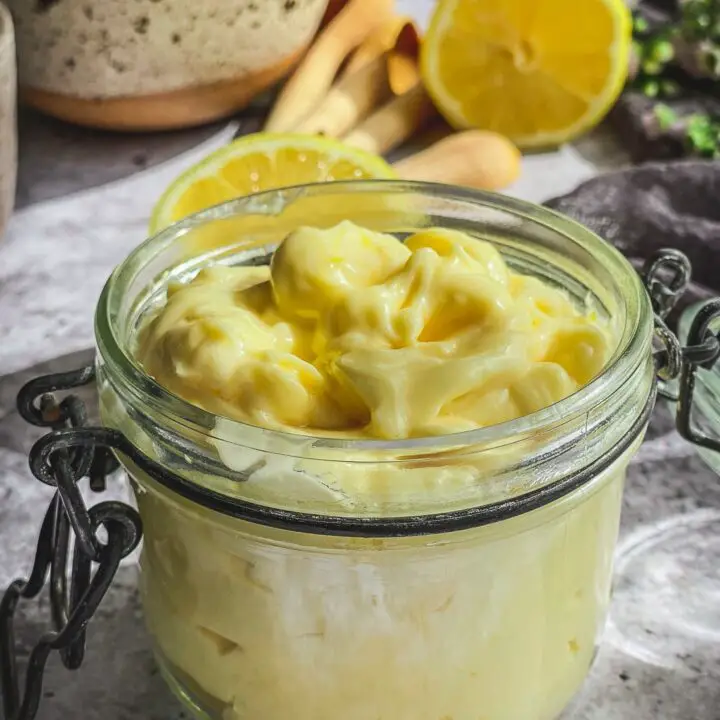
Homemade Keto Mayonnaise takes just 2 minutes to make and tastes far better than store-bought. It's also whole-30 approved and of course, cheaper too!
Jump To
The name of my blog is calm eats and the images shared are carefully curated to represent a life of calm, slow moments, and lots and lots of free time. This is exactly what I'm dreaming of when I suddenly see a minion toy fly in my direction and quickly snap out of it.
Yes, it's ideal but it's not reality. Anyone who has young kids and says otherwise is a liar, a lunatic, or has discovered nirvana. No, as any parent knows, life is packed with toys, chaos, crying, fighting, and the like along with being wondrous.
It was a day like any other day, going about the usual stuff and preparing lunches when it dawned on me that I was missing the key ingredient - mayo. Yes, I could have gone the vegan route and worked on making a vegan version with avocado but my son, after years of loving it decided he's done with avocado "forever". So plan B. Make my own.
The problem though? I didn't have 2+ hours to let an egg come to room temperature and had about 20 minutes to work with. But, I took a shortcut. I placed an egg (please only use pasteurized eggs) in a cup of warm (not hot) water and let it sit for 10 minutes. It was the exact consistency I was looking for.
So I got to work. Well, correction, my food processor got to work. This paleo mayo recipe is uncomplicated and there's hardly any effort involved. I used Dijon mustard, lemon juice, red wine vinegar, salt, a sprinkle of paprika, the room temperature egg, and slowly drizzled a cup of light tasting olive oil. I have to add that I prefer light tasting olive oil over avocado oil or regular olive oil as the taste is just too intense. I've tried it with both in the past and just wasn't impressed.
This mayo is foolproof and takes only a couple minutes to whip up. Needless to say, lunch was saved.
About This Easy Homemade Keto Mayonnaise
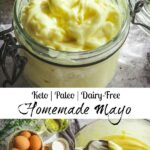
- It's Keto, Paleo, and Whole 30
- Gluten-free
- Grain-free
- Dairy-free
- Vegetarian
- Ready in 2 minutes
- Versatile
- Better than store-bought
Why make Keto Mayonnaise at Home?
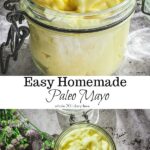
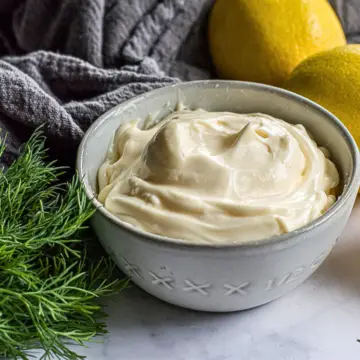
Paleo mayo is far healthier than store-bought and tastes infinitely better. Regular mayo typically contains canola oil or soybean oil, which is not allowed on the paleo diet. Once you taste home made mayo, you'll see the difference it makes!
Paleo mayo is also a lot cheaper than store-bought! Win-win in my book!
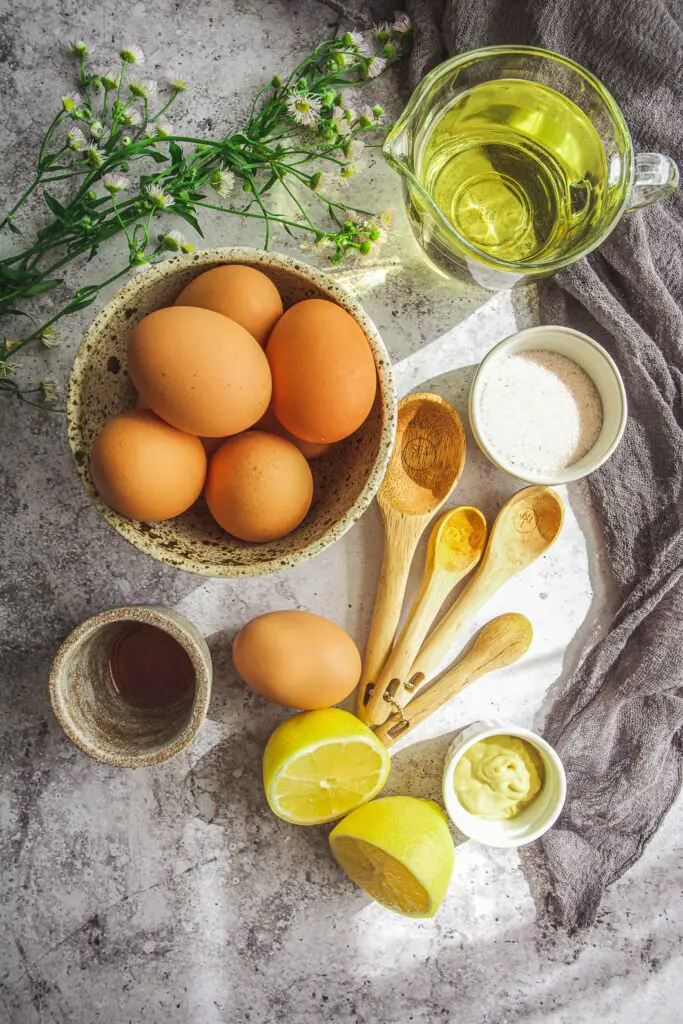
Ingredients needed
Pasteurized egg
Why do I say pasteurized? Well, if you're getting your eggs from the market, you don't have to worry about them being pasteurized but if you're shopping at your local farm or farmers market, those may not be. Consuming raw unpasteurized egg may not be safe so make sure you have pasteurized.
Lemon Juice
Whether you have fresh or bottled lemon juice, either should work just fine but I prefer fresh lemon.
Red Wine Vinegar
If possible look for a quality brand because you're going to be consuming it raw and it does make a flavor in the way the mayo tastes.
Dijon Mustard
Again, when you're using only a few ingredients, I highly recommend using the best possible quality. Look for a trusted brand you enjoy, with balanced flavors.
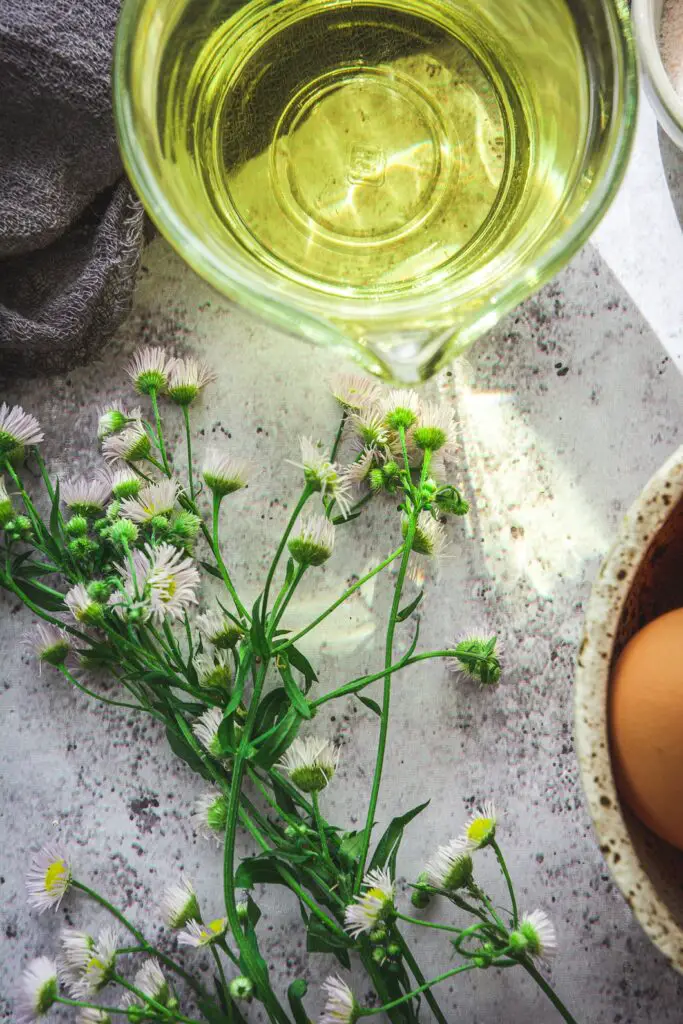
Best Oil
This is where you have a little freedom. I prefer using a light tasting olive oil that doesn't add a lot of flavor but if you want intensity in your mayo, feel free to use regular extra virgin olive oil or avocado oil.
Equipment Needed for Making Keto Mayonnaise
Personally, I prefer a food processor but if you don't have one, you could use a submersion blender. Just add all ingredients in a wide enough container and then insert your submersion blender and blend until creamy and smooth.
FAQs + Top Tips
Why Should All Ingredients Be At Room Temperature?
Just as you would with baking, you want all your ingredients to be at room temperature so they adequately incorporate.
How To Quickly Bring An Egg To Room Temperature?
If you're strapped for time and forgot to leave your egg out, just put it in a glass of warm water (Never hot). Let the egg sit for 7-10 minutes until it comes to room temperature, then you're ready to use it.
Why Should You Use a Pasteurized Egg For Mayonnaise?
Although farm-fresh eggs are wonderful, whenever you use a raw egg, it needs to be pasteurized. Unpasteurized eggs are not advised for this recipe as they can contain bacteria that can make you sick. You're safe with pasteurized eggs.
Do You Need A Food Processor For Making Mayonnaise?
If you only have a handheld mixer, you can use that in place of a food processor. Add all your ingredients in a shatter-proof cup and bled them up for 2 minutes or until the mayonnaise has thickened.
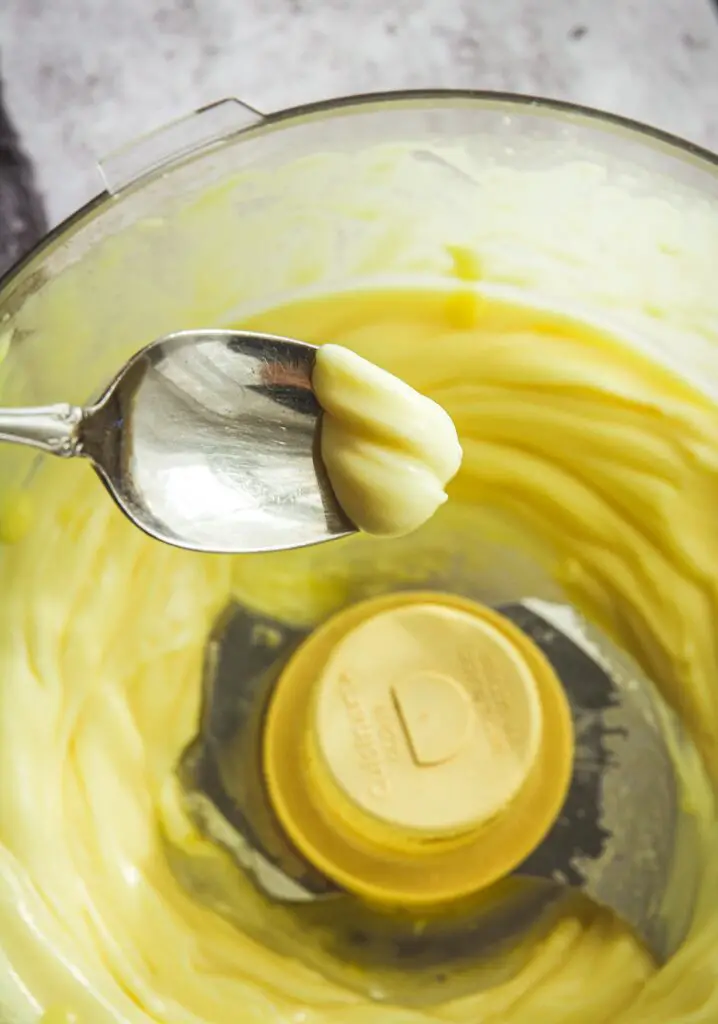
How Do You Get A Silky Mayonnaise Consistency Every Time?
Slow and steady is your best bet when it comes to pouring the oil. Don't rush it. Allowing the oil to slowly drizzle in, will create the silky smooth texture of the mayo.
If you're using a food processor, and there is oil still gathered at the center of the food processor, just use a spatula to mix everything up and give the mayo another few pulses until fully incorporated.
Recipes Using Homemade Keto Mayo
- Keto Deviled Eggs With Avocado
- Paleo Fish Taco Bowl with Mango Salsa
- Tuna Chickpea Bites with Lemon Caper Mayo (Grain-Free, Gluten-Free)
- Zucchini Rutabaga Fritters (Paleo, Whole 30, Low-Carb Option)

📖 Recipe
Easy Homemade Keto Mayonnaise
Ingredients
- 1 pasteurized egg at room temperature
- 1 teaspoon lemon juice
- 1 teaspoon red wine vinegar
- 1 teaspoon Dijon mustard
- ¼ teaspoon sea salt
- ⅛ teaspoon paprika
- 1 cup light tasting olive oil (or oil of your choice)
Instructions
1. If you don’t have a room temperature egg, simply take a refrigerated, pasteurized egg and place it in a cup of warm water for 10 minutes. This will bring it to room temperature.
2. Add all ingredients to the food processor, aside from olive oil.
3. Turn on the food processor and very slowly drizzle in the oil.
4. Turn off the food processor when the mayo has reached consistency. The whole process should take about 2 minutes.
5. Store in an airtight container in the refrigerator for 2 weeks.
Notes
1. Be sure you're always using a pasteurized egg for making mayonnaise.
2. To bring an egg to room temperature quickly, fill up a cup with warm water (never hot). Let the egg sit for 7-10 minutes until it comes to room temperature, then you’re ready to use it.
Nutrition Information:
Yield: 16 Serving Size: 1Amount Per Serving: Calories: 124Total Fat: 14gSaturated Fat: 2gTrans Fat: 0gUnsaturated Fat: 11gCholesterol: 12mgSodium: 50mgCarbohydrates: 0gFiber: 0gSugar: 0gProtein: 0g

Shelby
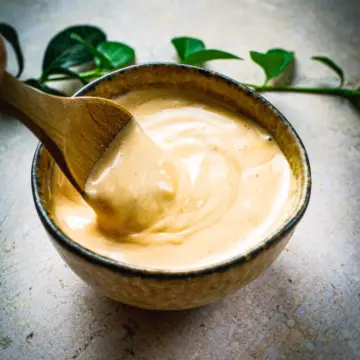
I've never made mayo before but this sounds so yummy! Plus.. chipotle?!
Daniela Modesto
It's so easy Shelby you may become a convert 🙂
Lindsey Dietz
I think that chipotle-lime mayo needs to be in my fridge, like, yesterday!
Daniela Modesto
Haha Lindsey - I can't get enough of it. I seriously eat it every day!
Kat
Thanks for the recipe! This may sound like a strange question, and maybe you can't help, but if you had to make this recipe without the egg whites (I'm allergic to just the whites), would you just leave them out or would you add a bit of something else (water, oil, whatever)? I'll probably have to experiment myself, but thought there is always a chance you have a good idea to share with me. Thank you!
Daniela Modesto
Hi Kat - thanks so much for your comment and not a strange question at all. My concern with home made is that if you're highly allergic to egg whites there may still be contamination issues if they don't separate well. You could actually try using a hard boiled egg yolk and one raw and see what happens. I'll give this version a try and report back 🙂
linda spiker
Gorgeous, as always! I love your blog!
Raia
Homemade mayo is the absolute best! I can't wait to try your chipotle lime version! Yuuuummmm...
Daniela Modesto
I agree! It's seriously so easy and cheap!
Carol Little R.H. @studiobotanica
LOVE these recipes! I am pinning and making for sure. Yes. to both flavour profiles. Do you normally use olive oil? I do, but am experimenting with a lovely avocado oil at the moment.
Daniela Modesto
Thank you so much, Carol! I like it with both and was making it with avocado oil for a while but for the spicy mayo, I found a milder tasting olive oil worked best but I've made it with both and like it!
Jo
I am pinning these to try later. Looks delicious!!
Daniela Modesto
Thank you Jo!! I'm so happy to hear that! I love this stuff so much and make it nearly every week!
Jordan Elbaum
such a genius idea! Mayo is so much better homemade without any crazy additives. Yum!
Daniela Modesto
Thank you so much Jordan! I couldn't agree more!
Jean Choi
I'm never making mayo any other way again. So much better than store-bought!
Daniela Modesto
I couldn't agree more Jean! Absolutely true!
Marisol Chancellor
I love making my own mayo! I need to give this recipe a try. Looks delicious
Daniela Modesto
Thank you so much, Marisol! I hope you do 🙂
Elaine
Homemade mayo is the best! This recipe is perfect.
Daniela Modesto
Thank you so much, Elaine! Tastes infinitely better, I agree!
Kathy Simkins
I just found your blog this morning and I can't wait to try most of your recipes! I say most because I have too many allergies to count. After realizing that I am one of the 10 to 15% of gluten sensitive patients that are extremely sensitive to all things mammal I have had to carefully look at all ingredients carefully. I am allergic to all things night shade, carotene, walnuts, most fruits.... the list is daunting. So I am always looking for new ideas. Most people don't know about the link between the gluten and mammal sensitivity. I found out about it in one tiny paragraph in the editor's comments in a Gluten Free and More magazine. I thought that I was imagining things when I would get ill eating mammal items. We raise our own beef and we have family members that are great hunters so I have always been involved in cutting and wrapping mammal products. I have had to be forceful in getting my family to understand that I can no longer process their mammal meat for them. I can remind them of the finer points of the process but I can't be there as they are doing it. I have one go to item that you might want to try. I make chicken hummus. I bottle chicken whenever I can get it on sale. I put 1/2 cup of brown rice in the bottom of a quart canning jar. Add in 3 or 4 chicken thighs, 1 tsp. salt and fill to the bottom of the "neck" of the bottle with filtered water. ( I am very allergic to chlorine.) Process according to your canning book. To use for hummus: Empty the contents of the bottle into a big bowl. Remove the bones. Put the rest of the chicken in the food processor with 1 drained can of garbanzo beans, some salt and whatever spice blend you like. ( My fave is Jamaica Jerk spice) blend it up. I sometimes add a bit of liquid amino acid or a bit of chicken broth. I usually eat this with gluten free pretzels. Travels well and you can tweak it depending on what you feel like at that moment.
Daniela Modesto
Wow, thank you Kathy for sharing! So much wonderful information here! I'm sorry to hear about the allergies but it pays to eat well and feel good in your body 🙂
Kathy Simkins
I forgot to tell you that the rice helps the hummus stick to your pretzel or cracker better. There is nothing worse than losing your hummus onto your lap.
Daniela Modesto
Thank you so much! 🙂
Nicole
I do not own a food processer. I'm assuming this would still work with a hand held blender or maybe blender that is capable of salsa and smoothies?
dmodesto
Hi Nicole, Oh absolutely! That will work! My mom used to make it by hand when I was little, so anything is doable 🙂
Daniela Modesto
I couldn't agree more!! I've tried a lot of mayo and they're decent, but homemade always wins for me 🙂